How we Wear... Bath Special

As you may have noticed if you follow either of us on Instagram, we had a little trip away to Bath last weekend for some Best Friend time.  We have a full post for what we got up to, but in the meantime we thought we would show off our outfit choices for a UK city break - luckily we managed to dodge the rain enough to take photos!

H wears: Dress from ASOS (Similar), Jacket from Miss Selfridge (Similar), Boots from River Island (Similar), Scarf from Miss Selfridge, Necklace from New Look (Similar), Belt from New Look, Bag from Ebay, Nail Vanish - Haymarket by Nails inc.

Sammy Wears: Dress from NewLook Inspire,  Coat from Yours (similar), Belt from H&M, Scarf from Dorothy Perkins (similar), Boots from NewLook Wide fit, Bag from Accessorize, Nail polish in 'bright and early' from Tanya Burr.


Day 2
H wears:  Jumper from Topshop (similar), Jeans from Dorothy Perkins, T-shirt from H&M, Necklace from I am Acrylic, Trainers from Converse.

Sammy wears: Trousers from Yours, T-shirt from Dorothy Perkins, Jacket as before, Scarf from Miss Selfridge, Trainers by Converse from Schuh, Bracelets made by Sammy.


Live it: Tea and Crafting Workshop

We all love to find a new creative space, right?  and that is just what we did when we got invited to a do a workshop at Tea and Crafting in Camden.  This workshop space is quite a new one and with so much on offer, it has definitely made its mark on the London Craft scene.  Jane, who owns Tea and Crafting is not new to us here, H took a class with her way back in 2012 for the infamous Loom Knitting post over at Craft Central.


But now she has very much branched out on her own in the vibrant area of Camden, inviting along with her a variety of tutors to give people the choice and inspiration that a craft space needs.  The workshop space is in the hub of Camden Market and is only up a flight of stairs - or lift if you prefer from the market entrance near the infamous Camden Lock Bridge.

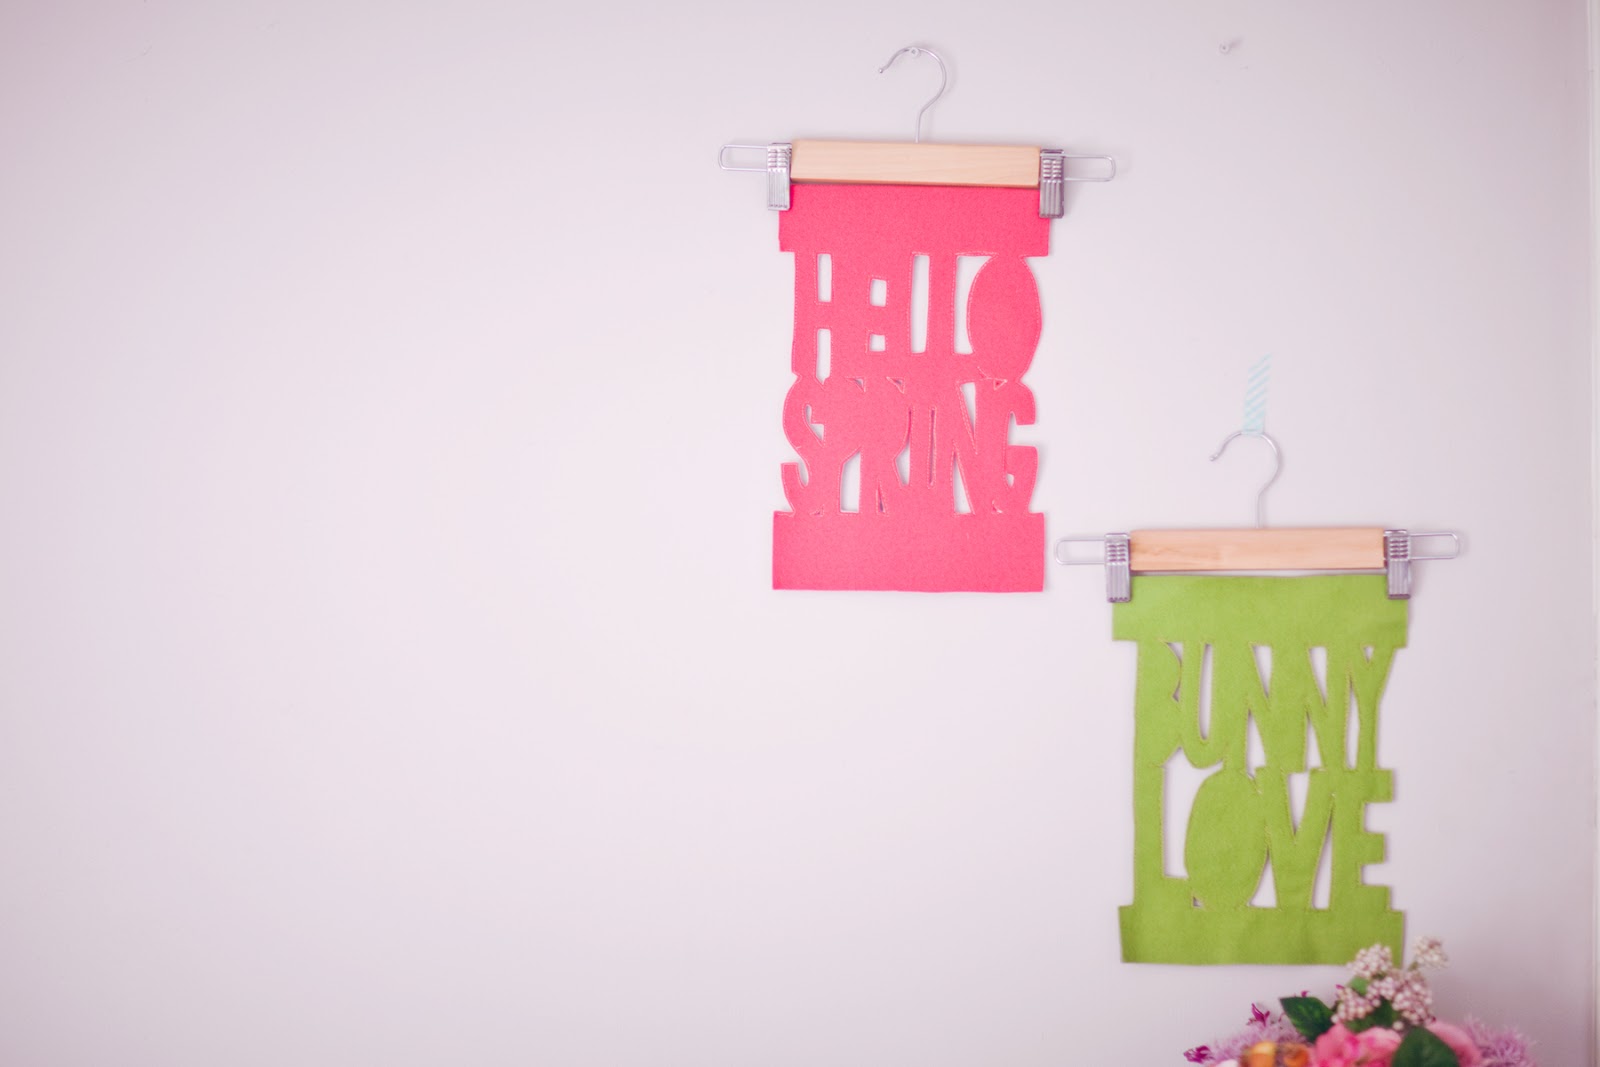
The space itself is very much themed around all its classes.  There is a sample for everything they do, so that you can have a look at what you next want to do.  Each time they do a workshop the space is laid out differently and so you could never sit in the same place twice!  They run workshops from embroidery and paper cutting to crochet or Millinery, and so plenty of different things to try.

We were invited to try the Machine free motion Embroidery Class, which just happened to be run by another friend of ours, Nic, so good to catch-up at the same time.  I hope this didn't make her more nervous, it definitely didn't show if she was.

We started with a cup of tea and told to help ourselves to cake - they were already onto a winner with us!

Then, Nic explained what we would be doing, which was to applique on some fabrics onto a tea towel and then machine embroider over the applique to make it all pretty.

We had some templates sheets to look through to get an idea of what we wanted to do, you could also do your own idea, which Sammy did.  We then traced/drew onto Bondaweb and chose our fabrics.  I went with a rocket and rainbow theme and Sammy went for cameras.  We then Ironed on our Bondaweb, cut it out and positioned onto our tea towel before the fun could start with Machine embroidery.

We then got down to the serious business of learning how to Machine Embroider.  Nic showed us how to change a foot on a machine and what the foot looks like, so that you can have a little knowledge when you get addicted to it and need to go and buy a foot the very next day - just me then?  

The advice was fast foot, slow hands.  You need to keep the machine running at a fast pace and have smooth slow movements with your hands moving the fabric.  We all had a go on some scrap fabric first so that we didn't go wading into our final piece straight away.  Nic suggested we try and write our names and so we could get a really good feeling for what to do as it was such a recognisable image for us to do.  I was very impressed with my first go and my name was actually legible!

Then, down to the business of going around our image, choosing whether we were going to go once over each shape or over sketch the design.  I like the over sketch design and so chose this for some of my image.  Nic, then took us through some hand embroidery techniques, so that you could have a try at adding those too.  I was off on a machine embroidery whirlwind though and so kept it all on the machine.

What do you think to our efforts?  Sammy had done a bit of machine embroidery before, but I had not and so definitely got the bug for it.

We both really enjoyed the class, there was enough of the fun and informative to keep it really relaxed.  The space is really calming and inspiring, so it could keep you coming back again and again to try something new each time.

We would recommend Tea and Crafting if you are looking for a new workshop to try.  They also run crafty Hen parties and afternoon craft tea parties and so you can go with your friends too.  If you do go, let us know what you think and show us what you made via Instagram or Twitter using #livelovemake.

H & Sammy

Disclaimer:  We were invited to Tea and Crafting to try out one of their classes.  We were not asked to give a positive review, but it just so happens that it was really easy to give one.

Make it. Spring Phrases DIY with Blooming Felt

Today, I have a really cute DIY to brighten up your day. These spring phrases are a great way to jazz up a blank wall or to fill in a gap in your art wall. 

You will need: Two sheets of felt (one bright and one grey/white) a template (You can download the ones I made for free at Hello Spring and Bunny Love) some freezer paper, an Iron, a pencil, a craft knife, thread, a sewing machine with a darning foot (embroidery foot), a trouser hanger and super sharp tiny scissors.

Take your template and trace it onto a sheet of freezer paper, then iron it on to your coloured sheet of felt. Use a craft knife to cut around the lines that you have drawn.  Don't press too hard you only want to cut the paper, not the felt. Then you can peel away the 'inside' part of your design.

Place your grey or white felt underneath your coloured sheet and pin it in place, or if your like me be brave and wing it with no pins, I'm such a rebel!  Sew all the way around all of the paper pieces.

Next you get to peel all of your remaining freezer paper pieces away to reveal your stitched design. 

Take your sharp scissors and cut out all of the fabric that is outside the letters (the parts that were covered in paper when you were sewing.)

There you have it, a fun, bright addition to your wall.  Perfect for adding a pop of colour to any space. You can totally customise this to make it say anything you like, in any colour you like.

What phrases would you make, and what colours?? Blooming Felt have LOADS of colours to choose from, Let us know in the comments which one you would choose.

Sammy xxx

We would love to see if you have a go at this. Like with all our DIY's if you do, take a picture and share it with us on Twitter or instagram with the hashtag #livelovemake

Book Review: Craft, Show & Sell

I always love it when a book shows up on my Amazon recommended list that looks as beautiful as this one does. I know you shouldn't judge a book by its cover but it's hard not to buy this gem for the cover alone, just look at it!!

The name of the book is pretty self explanatory but I'm gonna go ahead and tell you about it anyway. If you are planning to make stuff and sell it online, or at craft shows or you just like being nosey and seeing inside peoples craft rooms this book is for you. By far the best crafting 'advice' book for UK artists and designer/makers I have ever read, and I have read A-LOT of these kind of books.

Let me tell you why...
One. It is Beautiful! I know I have said that already but it is probably the prettiest (useful) book I have ever owned. It is full of colourful photography of gorgeous crafty goodness. It has been on my desk for weeks and I cannot stop picking it up and looking at it, like, everyday.

Two. It has stacks and stacks of really useful information in it. From storage suggestions for your craft supplies, to tips from real designers and artists who are already doing what you want to do. And when I say tips I mean real, useful, meaningful tips that will actually help with the steps you can take to make your dream job become a reality.

Three. As international as the world is now, it is so nice as a UK crafter to hear opinions from other UK crafters. The British craft industry is different from that of the rest of the world and it works in a slightly different way, so to have a book written for British crafters by British crafters, it is a refreshing perspective.

Four. There are sections for everything, not just the fun stuff.  Being your own boss is really brilliant, but it is a lot of hard work and I feel that this book (unlike many others) doesn't gloss over the sticky bits.

Five. It is all the things I love about craft in one book. It is pretty, well put together and actually useful.  It is the polar opposite of style over substance.  It is slick, well put together and it looks beautiful. (I know, I said it again!)

I would highly recommend adding this book to your wish list if you have plans to sell your crafts online or anywhere else.  If you like looking a pictures of beautiful crafts or if you like great tips on making your craft selling dreams come true. If you want to make your craft selling business the best it can be, use this as your Bible. Seriously.

Have you taken a look at this book? Do you already own it? I would love to hear what you think of it, leave a comment below or talk to us on Twitter @livelovemake

Sammy xxx


Disclaimer: ( for our lovely readers) I hate writing these because I feel that you already know, But as a little reminder. Our opinions are not for sale. We only write honest reviews. If we are sent products to review it does not guarantee a positive review or for that fact a review at all. We will always tell you if a review is sponsored, which means that the product has been loaned to us or given to us. This review is not sponsored. I bought this book of my own free will, not with the intention of reviewing it. Just wanted to share some joy.