

If you follow me on Instagram you will have seen me post this pic last week on my way to our button workshop which I spoke about last Friday.
As always we had such a fun evening at Craft Club, if you don't know H and I run Craft Club at Norden Farm Arts Centre in Maidenhead on the last Thursday of every month, with a different craft activity every time. We are taking a break for the Summer but we will be back in September with a zipped pouch workshop. We will announce here as soon as bookings for that one is open but keep an eye on our Make it tab for all our up coming workshops.
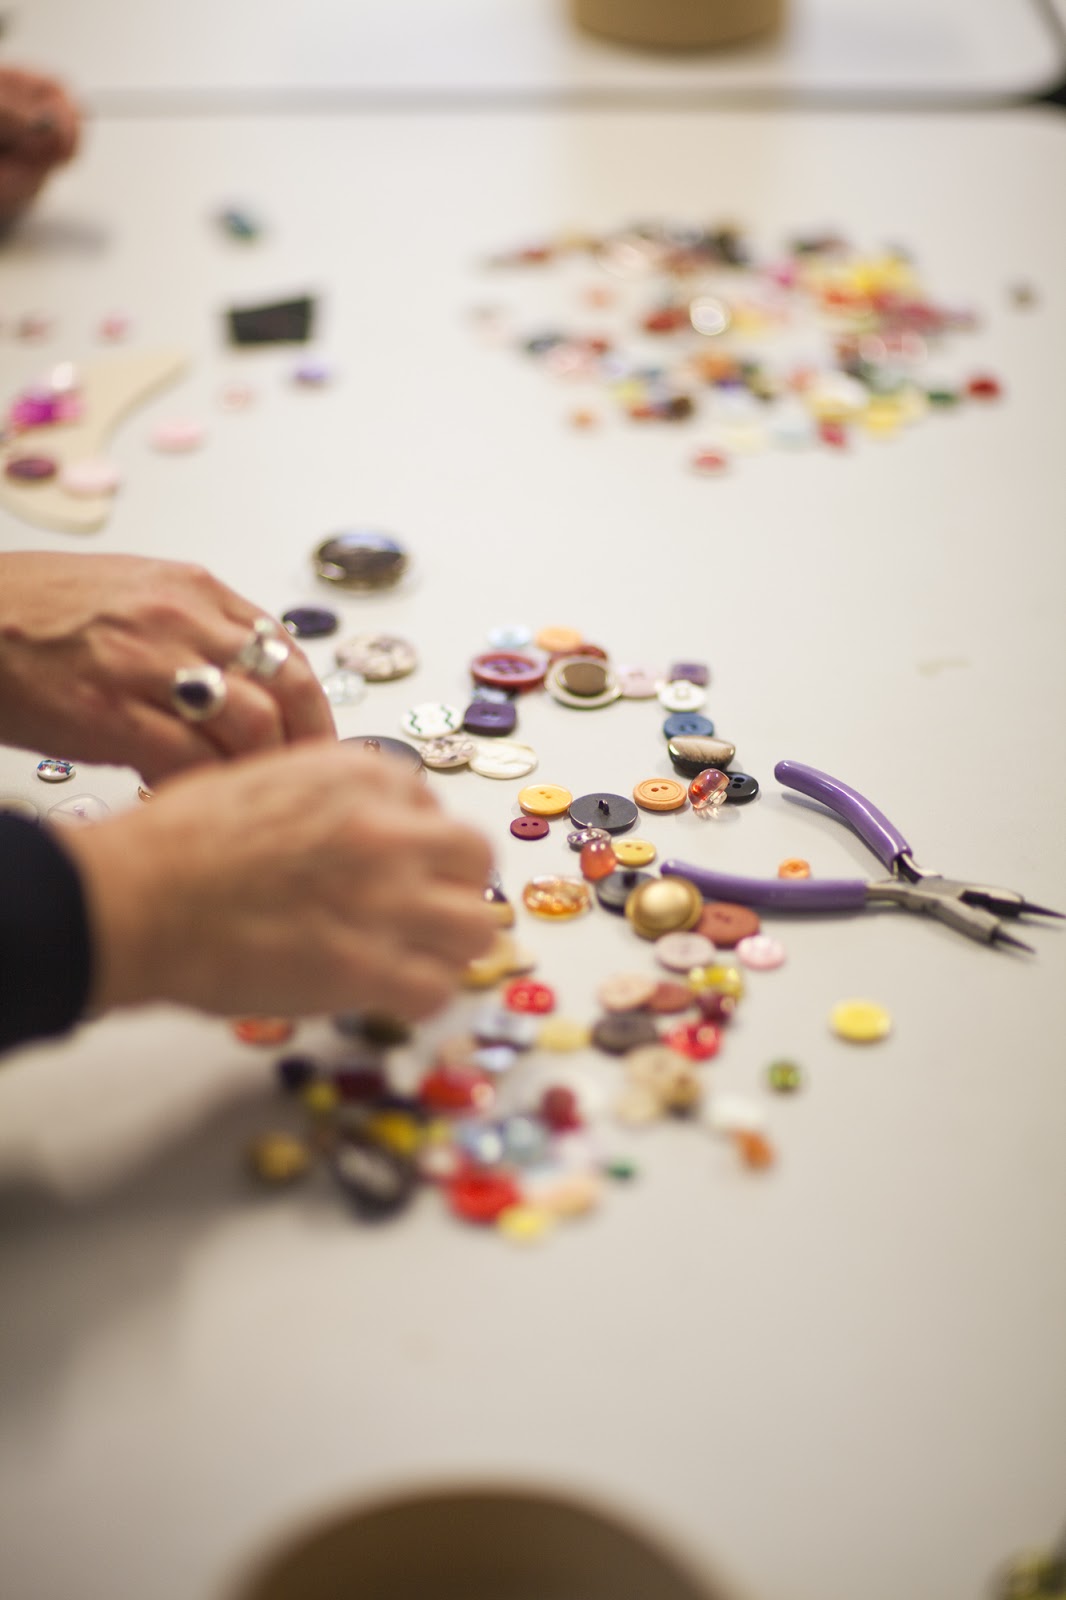
Onto button loveliness.

Most of the first 30mins of the session had our ladies choose their buttons, it was so much fun to see everyone enjoying my button stash. Worrying fact, I went through all seven of my button jars for this workshop and basically did a button de-clutter, more worrying is that my jars are still mostly quite full, despite as you can see, parting with quite a few!


We had pre-cut some bases for our ladies to fill up with buttons, as you can see here, it's a small banana shaped piece of felt which we then attached the buttons to by stitching with embroidery floss in a complimentary colour.

Everyone was given two pieces of the felt, one to attach the buttons to and one to create the backing. We got everyone to lay out their design on their backing piece so they didn't have to disrupt it to sew them onto the front piece.


I really enjoyed seeing all the different colour combinations that everyone chose, we had black and white, pastels, greens, pinks, purples. Our friend Emma (who has come to quite a few of our workshops now) made a lovely green and orange one and one of my faves was a pink to purple ombre effect one.


This is the pink to purple ombre one in progress.

I was meant to take photos of the next stage, but we got really into the class and totally forgot, if you want to make one at home here's what you need to do next.
Once you have sewn all you buttons on, you need to create loops to attach your chain to. We used a length of ribbon and sandwiched it with glue between the two layers of felt. We use the Guttermann HT2 glue, its really good for these kinds of projects.

Next we just attached a piece of chain to the ribbon loops we had created and added a clasp at the back. If like H you are a nickel allergy sufferer, you can just attach two lengths of ribbon to the piece by sandwiching it in the same way that we did to make the loops. then you can tie the ribbon to create you necklace with no irritating metal findings.
Check out my Favourite Friday from last week to see what else you can create with your button stash.
H and I are off on holiday next week, don't worry we have scheduled a weeks worth of posts to keep you entertained, including a guest tutorial form the lovely Tessa at House of Wonderland.
We are off to the Greek Island of Santorini, Have any of you been there??
We are staying on the south east of the island in an area called Perissa, we would love to know any recommendations of things to see and do on this beautiful island, leave a comment or tweet us @livelovemake
Sammy xxx