Showing posts with label Bake it. Show all posts

Make it: Blueberry and Coconut Cake

In my bid to make dairy free good stuff, I came across this recipe on the BBC Good Food website.

I took it to work and I don't think they even noticed it was dairy free, so that's always a bonus.  It was really really yummy and so easy to make.  I also decided to make this gluten free too and used Doves Farm gluten free flour.


You will need:
250ml rice bran oil, plus extra for the tin
3 eggs
225g caster sugar
2 tsp vanilla extract
300g self-raising flour - I used Doves Farm Gluten free flour
50g dessicated coconut
175ml soya milk
140g fresh or frozen blueberries, plus extra to serve

icing sugar, to dust

Put your oven to 180C/160C fan/gas 4 and grease a 22cm tin.

Whisk the oil, eggs, sugar and vanilla and in a separate bowl combine the flour and coconut.

Alternately, fold the flour mix and soya milk into the wet ingredients, starting and ending with the flour.

Spoon about a quarter of the mixture into the tin and then fold the blueberries into the remaining batter, before adding it to the tin.

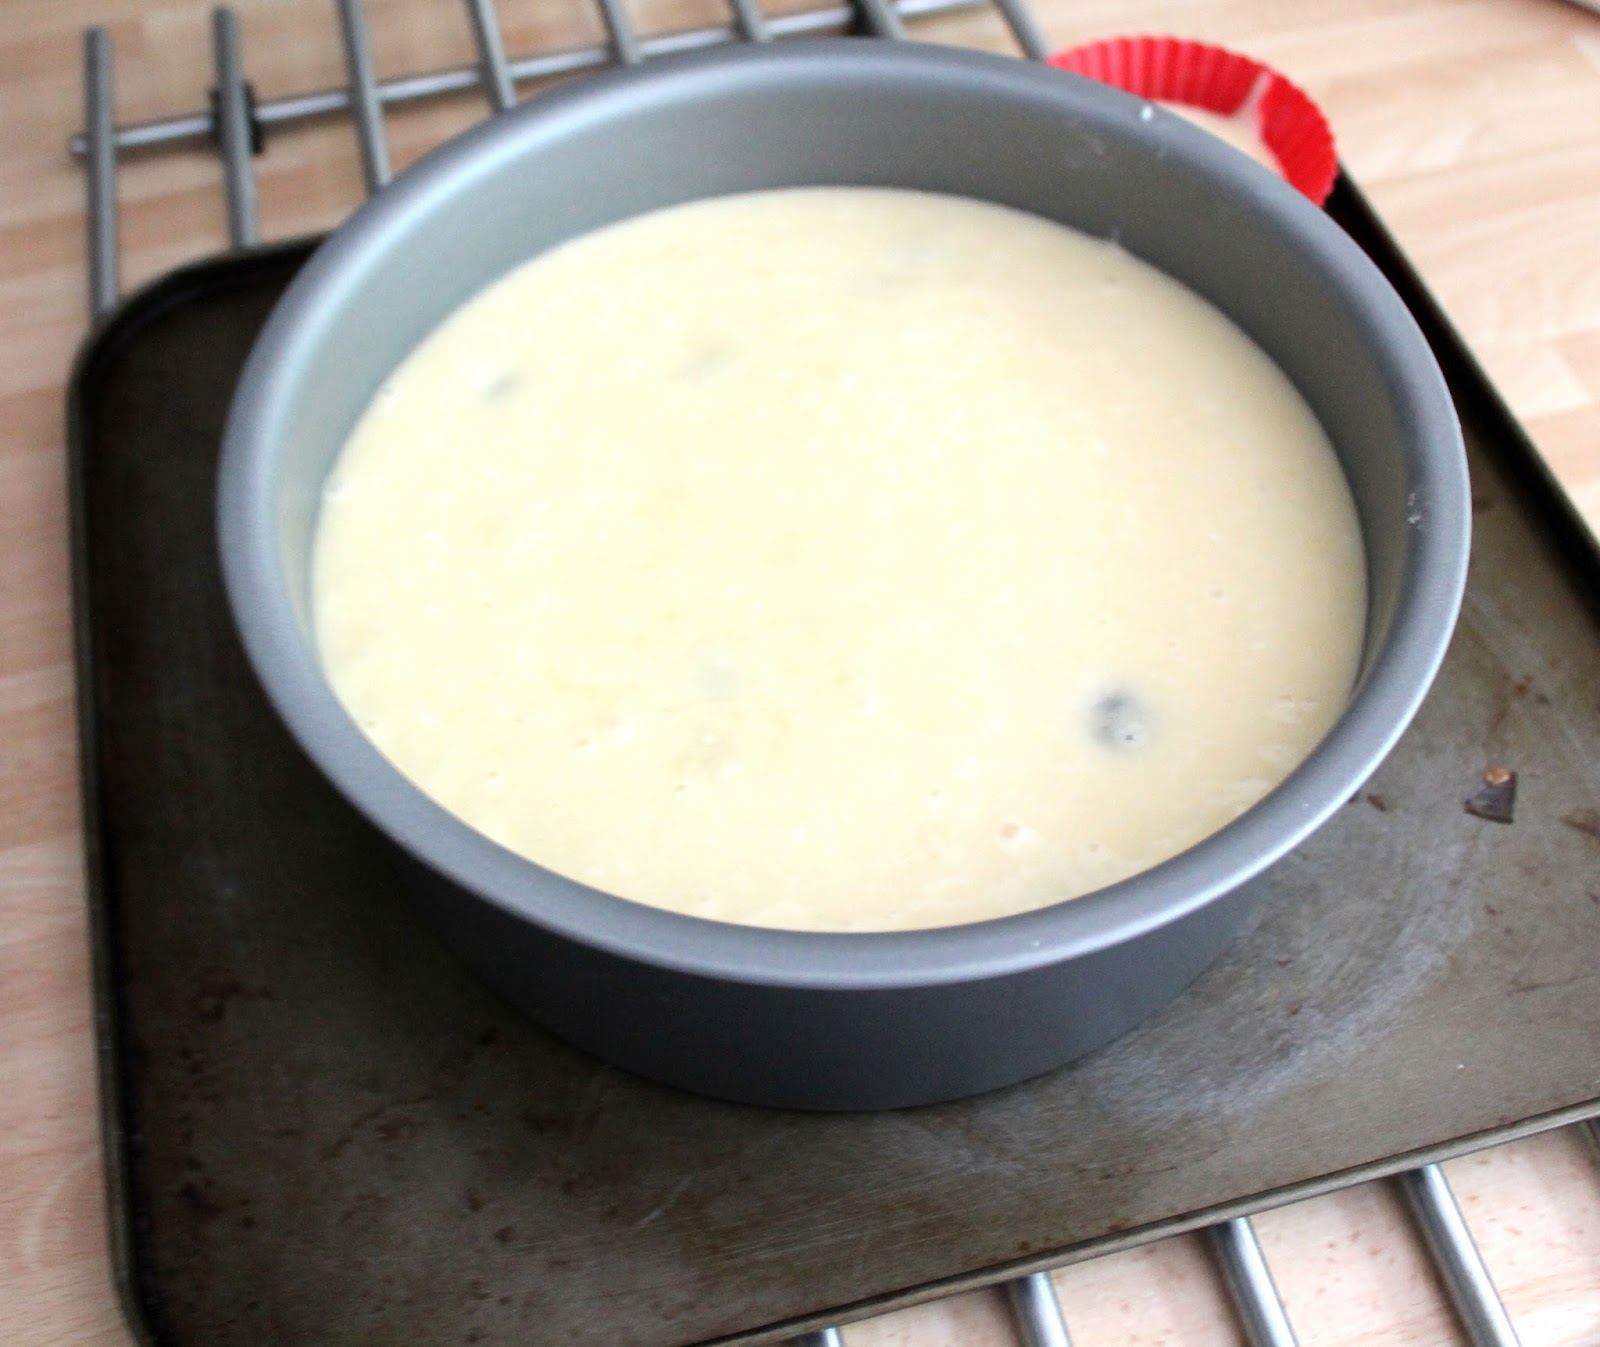
Bake for 1-1¼ hrs, or until a skewer comes out clean.

Cool in the tin for 10 mins, then turn out onto a wire rack and cool completely and then dust with icing sugar.

I think the next time I make this, I might make some dairy free icing.  It did stay really nice and moist, but maybe a bit of icing would be good.

I'd never used rice bran oil before and I really think it worked for this recipe as it made it really wet - which is always what you need when using gluten free flour.  I will definitely use the oil again. I am already looking out for recipes!

Do you have any failsafe recipes that you use, let us know in the comments below.

H

 Live, Love, Make, Like, Share, Follow, Tweet, Pin, Add, Enjoy. 

Bloglovin / Twitter / Facebook / Pinterest / Google+ / Instagram


Make it: Banana and Oat Bites


It's Bank Holiday Monday here in the UK and I am having a bit of a rest day - It's been a busy summer so far and so it is well needed.  Usually this means I like to bake at some point and so I thought I would give these Banana and Oat Bites a go that I found in the Sainsbury's Magazine - plus they so so simple to make.

You will need:
Mash 2 ripe Bananas
60g Porridge Oats
30g Apple sauce
1tsp Ground Cinnamon

Put your oven onto 180C, if it's a fan oven put it to 160C or Gas mark 4.  Put all the ingredients into a bowl and mash up the banana until it's all mixed together.  This will only make a small batch of about 8 and so if you need more you can scale up the mixture for your desired amount.

Then add desert spoon sized blobs onto a baking sheet and pop into the oven for 18-20 minutes until golden.

Take them out and wait for them to cool a little and then devour!  When they first come out of the oven they are crunchy on the top but when they have cooled completely they are a bit more chewy.  Let's face it they are not the same as having a big old cookie, but they are pretty good (as long as you like bananas) and a healthier version too.

They also go brilliantly with a cup of tea - with the looks of this weather, I think it's a day for cosy food and warm tea!

Have a great Monday, whether you are on a Bank Holiday or not.
H

 Live, Love, Make, Like, Share, Follow, Tweet, Pin, Add, Enjoy. 

Bloglovin / Twitter / Facebook / Pinterest / Google+ 


Make it: Dairy Free Lemon and Poppy Seed Muffins


When food shopping last week, I found a recipe card down the yogurt aisle and as it uses Alpro Soya Yogurt which is dairy free - I thought it was worth a go for my new found dairy free diet.  I substituted a couple of the other ingredients too, to make it completely dairy and gluten free and it seemed to work well, so I thought I would share it with you.  It also helps to redeem myself after our epic birthday cake fail!

The Ingredients:

225g plain flour - I used gluten free flour
140g caster sugar
¼ tsp salt
1 tbsp lemon zest, grated
1 tbsp lemon juice
2 tbsp baking powder
1 egg
245g Alpro Simply Plain soya yogurt alternative
2 tbsp poppy seeds
100g melted margarine - I used soya spread

Heat an oven to 200ºC/400ºF/Gas Mark 6, and line a muffin tray with muffin cases.

In a large bowl sift the flour along with the baking powder. Next add the sugar, lemon zest, poppy seeds and salt, and stir to combine.


In another bowl whisk together the lemon juice, egg and Alpro Simply Plain.

Gently fold the wet ingredients into the dry, being careful not to over-mix. Spoon into the muffin cases and bake in the oven for 20-25 minutes until well risen and cooked through.

I managed to make around 10-12 from the mixture, but the recipe states that it makes 8.  I suppose it depends on how big you want your muffins.

I also, made a second batch and added around 100g of Blueberries instead of the Poppy Seeds, these were just as yummy.  In fact, I took them to work and didn't say they were dairy or gluten free and no one noticed, which is always nice.  They are great with a glass of juice when its warm, or a good cuppa when you are cold.


You can find the recipe here along with many other good recipes and I used Doves Farm Plain Flour and Pure Soya spread to make my version of the recipe.  Normally with Gluten free flour you have to add an extra bit of liquid, but as this recipe uses the yogurt, I think it works just as well.

These are so easy to make and there would be some other really great variations.  You can buy the yogurt in lots of different flavours too, which I am sure would work just as well.

H

We would love to see if you have a go at this. Like with all our DIY's if you do, take a picture and share it with us on Twitter or instagram with the hashtag #livelovemake

 Live, Love, Make, Like, Share, Follow, Tweet, Pin, Add, Enjoy. 

Bloglovin / Twitter / Facebook / Pinterest / Google+ 


Make it: Dairy Free Cookies


It's just about typical for me that I have developed a Dairy intolerance, to be fair, it has been around for a while, but I actually just went and got myself tested and found out what it was all about.  So, I have been trying some good old recipes using dairy free spread to see whether I can still eat the things I already love!

I thought I would have a go at Chocolate and Oat cookies as you can have 50% and above dark chocolate if you are going dairy free and just replace the butter with dairy free spread.

They tasted pretty damn good too, the only difference I could tell is that they spread a little more in the oven.

You will need: 113g dairy free spread ( I use Vitalite or Pure Soya), 110g brown sugar, 100g caster sugar, 128g plain flour, 106g oats, 1 egg, 1/2 tsp bicarbonate of soda, 100g dark chocolate (50% and above) and 1 tsp vanilla extract.

This recipe is relatively easy, put all the ingredients together in a bowl and mix well, then add a desert spoon sized dollop onto baking sheets and put in the oven at 180 degrees for 8-10 minutes.

That is literally all you need to do.  This recipe makes about 15 cookies, I doubled up my batch to make loads for a friends birthday and they seemed to go down very well.  I don't think they even knew!

What's your favourite recipe, whether dairy free or not, let me know in the comments below.  If you do have any great recipes for dairy free though, I would love to hear about them as I am trying to find more all the time.

It does make me very hungry doing these posts, but as they are so quick I could probably just make up a a batch after work, right? 
H

Make it: Pancakes

It's pancake day tomorrow, which just means it gives me the extra excuse to eat and make pancakes for the whole of my meal!

I do like the usual crepe style pancakes but I have been trying out some different recipes this time, again, this is probably just so that I can eat more pancakes!

I got this recipe for American style pancakes from Marvellous Miss M:

For 2 portions (6 pancakes), you will need:
1/2 tablespoon of baking powder
tiny pinch of salt - you might want to leave this out if you are using salted butter or any kind of margerine
1/2 teaspoon caster sugar
1 large egg
15g margarine or melted and cooled butter
150ml milk
113g plain flour
butter / margarine to fry
whichever toppings you want! Personally it's just good old lemon and sugar for me.

Mix all the ingredients together in a blender or with a whisk.  Cook as usual.

For a healthier choice, I found this recipe on Pinterest somewhere.  There are so many versions of this, that you can really make it your own.

Makes about 6 small pancakes:
1 Banana
1 Egg
fresh or dried fruit. I used dry fruit for this one but I think some fresh fruit would be nicer. Just my preference!

Squash the banana and add the egg till its mixed, add the fruit and voila.  Just pop a few spoonfuls in a pan and cook as usual.

So that gives you a few things to try tomorrow evening.
Yummy
H

Make it: Ginger Biscuits

Last week I became a bit obsessed about making Ginger Biscuits!  I wanted to make something for a volunteer afternoon at work and so I decided on biscuits rather than cake and of course I had to have a dry run earlier in the week and so my colleagues got a very biscuit friendly week!

This was the recipe that Jane Horrocks recently used for The Great Sport Relief Bake Off and aparently Paul Hollywood's mum uses the same recipe, so it must be good!  I found the recipe on another blog: http://busybutterfingers.blogspot.co.uk/

They are so simple to make and you are most likely to have most of the ingredients already which is always a good start.  They do go hard really quickly, which I like, but you do have to have strong teeth or a good cuppa to dip them in!  I also added stem ginger to mine to make them extra Gingery, but you can leave out if you prefer.

Recipe

110g unsalted butter
110g brown sugar
110g golden syrup

225g self-raising flour

2 tsp ground ginger
50g Stem Ginger


Instructions

1.  Preheat oven to 180*C and grease baking sheets.

2.  Melt butter, sugar and syrup in a saucepan gently until all melted together.

3.  Remove from the heat and add the dry ingredients to make a dough.

4.  Make into balls about a 50p size – do not flatten.

5.  Bake for 10-12 minutes or until golden brown.


6.  Allow to cool and try not to eat them all!

If you try them out, let me know.  I also made some chocolate chip versions with a smaller amount of golden syrup and they seemed to stay softer for longer.  So do play around with the recipe and let me know what you get up to!

H

Book Review: Candy Kittens

After my Link for the week on Monday we got right in the baking mood and so we thought what better way than review the Candy Kittens book that we got sent by Fluorescent PR.

Candy Kittens is a company owned by Jamie Laing - of Made in Chelsea fame and who's family own McVitie's.  So great credentials to put some sweet treat recipe's together and that's just what this book is, a real sweet treat book.  No bread making or pie's here.

I must admit that my knowledge of Jamie was pretty non-existent, not being a Made in Chelsea fan would mean that anything to do with it is fairly off limits.  However, the book has some great recipes in it to make those sweet treats that are a little bit different to the usual baking books out there.  It is also pretty pink and sparkly and defiantly made for a younger crowd, but that doesn't mean the recipes are age appropriate!

Throughout the book, each section starts with a lovely picture of one of the recipes in its section, just like the macaroons above.  To show what the book has to offer, we have picked some of our favourite recipes to have a look at for the review.

We all know that cupcakes are a big favourite treat and there are some lovely colourful versions in this book, but I just couldn't resist these kitten shaped cake pops for a picture!  Sammy has made cake pops in the past, but these are so cute that I'm not sure whether we could eat them!

H does love a gingerbread house and this Chelsea Townhouse one is definitely a favourite and it is probably the only version we could afford!  I might even give it a go at Christmas, that's if I don't eat all the gingerbread first of course!

Another favourite of H's is bubble tea.  I first came across it in Singapore and have been grabbing different versions of it as I go along.  I really want to try this version out and have even brought my tapioca pearls in preparation for it.  This is not for everyone as it is a drink with the tapioca pearls that come up through the straw, but for some reason, I love it!

All in all, the Candy Kittens book has some great recipes in it, there are also a few fillers in there too - the rice crispie cake recipe just seems a bit unnecessary.  I am also not a fan of the street talk and 'please buy the clothes we endorse' extras.  But I guess you can't like everything hey!  The recipe's are easy to follow and a favourite of H's is not too many ingredients, as who wants to scour the supermarket for all the things you have never even heard of.

For the most part though it's just a fun book and so much so that I went and bought one for a friend for her birthday.  That must be a good review hey.

Make it
H & Sammy

Disclaimer: Although we were sent the book by Fluorescent PR we were not obligated to give it a positive review. 

Link for the week: The Bake Off Book

Bake-off-Series-4-book

Now we all love a bit of The Great British Bake Off - for those abroad, go check it out on BBC.

For the 4th series they have brought out a book about Everyday bakes.  Now I am not great with cook books in general as I have a relaxed approach to making sure I have all the ingrediants they ask for.  However, when it comes to baking, you have to make sure its all right, otherwise you end up with very random concoction!  Sorry to those who have had to eat those!

I thought that this week's link should be where you can buy the book so that you can become just like Mary Berry herself:


Plenty of other shops have the book, but at the time of writing this post, these two were the cheapest I could find.

Also, there is a great review here about the book.

have fun baking!
H


Michelle Makes: Halloween Toffee Apples

Michelle from Spotted Rose is back today with a fun Autumnal treat for you all to try.

I am a big fan of Autumn, especially Halloween.  It’s full of lovely baking, running through the autumn leaves, hot chocolate and toffee apples.  They are a real childhood memory for me so I just HAD to try these for myself. 

I was a little nervous because it means heating sugar to the right temperature, but these were really 
fun to make!  You don’t need a sugar thermometer either, there is a little test you can do, which i’ll explain.  There are quite a few different recipes for these so I kind of adapted them all and made up my own. 

Here’s what you will need:

Small apples (I don’t like biting into big ones, but use what you prefer)
Lolly sticks / paper straws
2 cups caster sugar
½ cup water

½ teaspoon white wine vinegar 

2 tbsp golden syrup

Get the sticks ready first – I stamped my families names on some of the lolly sticks as a special little touch, you could add names or Halloween references !

Stick them into the bottom of the washed and dried apples.


I really wanted to try using paper straws in place of the sticks but they are quite flimsy, BUT by just

using the end of a circular ended teaspoon and sticking this in the bottom of an apple, it made a circular hole and they then fitted in perfectly.

Next to make the toffee, add the sugar and water to a pan and bring to the boil.

Then stir in the vinegar and syrup. Set a sugar thermometer in the pan and boil to 140C or the 'hard crack' stage as they call it.  If you don’t have a thermometer you can test the toffee by dropping a little into a bowl of cold water.  It should harden instantly and when removed be brittle and easy to break. If you can still squish the toffee, it’s not quite ready !
So, this is the fun bit – I decided to make my toffee apples a bit more ‘spooky’ and added some green food colouring and edible green glitter.

Slimy and gross hey! 

Then, very quickly dip the apples in the toffee, swirl them around and drip off any excess.  I used some flower oasis to pop these in and keep them upright to dry.

Here they are…

I then added red colouring to the next ones ...


... and decided to add a little sugar witch and some green glitter !


But the below are my all time favourite ones – I have been dying to try the new edible gold spray from Dr Oktker and this was the perfect opportunity!! 

Gold toffee apples – doesn’t get much better than that hey!

Why not package them up in cellophane and ribbon and give them away as pressies!
If they aren't devoured first like mine were.

Thanks so much for reading & happy Autumn!
Michelle, x 

Make it: Lemon and Vanilla cake


You may have noticed here over at Live it. Love it. Make it, that we LOVE cake!  There is never any reason not to have cake as far as we are concerned!

We have a few friends who make cupcakes and cakes as well, so it would be rude not to indulge! But today's beauty is all H and so of course there is a little difference than the norm of a Vanilla sponge with Jam - it wouldn't be H without it!

This is a Lemon and Vanilla sponge cake with butter cream and Lemon curd inside.  It went down a storm at work as usual and managed to not even make it to the 10.30am tea break for some!  There are some definite cake monsters at H's work! - you know who you are.

This is so simple to make and as you can see there are three cake layers to make it a mammoth cake as H felt that 2 layers just didn't look big enough - of course!  Now, if you only want 2 layers, then just do 2 thirds of the mix.  H's mum has been making this type of cake for years and its always in cookery books as a simple cake to be able to change up to whatever you want to make it into.

So to the Recipe:

Preheat the oven to 180 degrees/Gas Mark 4

For the cake
150g self raising flour
150g caster sugar
150g butter/margarine
3 large eggs
1 1/2 teaspoons baking powder
a few drops vanilla essence
1/2 lemon juice

Mix all the ingredients together in a bowl until light and fluffy.  If the dough is too thick add a couple of teaspoons of warm water.

Split the mixture into 3 cake moulds or if using a tall cake tin, just do it in one go and cut the layers later.  You can then see if you want 2 or 3 layers then.

Bake for 20-25 minutes, until a skewer inserted in the centre of the cake comes out clean.

Let cool down completely


For the Filling

One filling was just Lemon Curd from a Jar - I know I could have made my own, but sometimes life is just too short!

The other filling is a simple butter cream:

250g butter, softened
1 teaspoon vanilla essence
600g Icing Sugar
2 tablespoons of milk

Mix the butter and icing sugar together - add the icing sugar slowly as otherwise you will end up with a sugar cloud!

Add the vanilla essence and if required the milk to the consistency you want.

When the cake layers have cooled completely, add the butter cream and lemon curd as you want it.  H did the lower layer and top with the butter cream and then a middle layer of lemon curd. Yum!


Do you have any fail safe recipes you do regularly, we would love to hear them.  If you follow us on Instagram, we usually take pictures of the cake we eat and whatever else we get up to, so go check us out, you can find both H and Sammy on there.

Make it
H & Sammy