

Showing posts with label tea. Show all posts
Showing posts with label tea. Show all posts
Makers Month: DIY Colour Block Tray with Claireabellemakes
Make it: Banana and Oat Bites

You will need:
Mash 2 ripe Bananas
60g Porridge Oats
30g Apple sauce
1tsp Ground Cinnamon


Have a great Monday, whether you are on a Bank Holiday or not.
H
Live, Love, Make, Like, Share, Follow, Tweet, Pin, Add, Enjoy.
Bloglovin / Twitter / Facebook / Pinterest / Google+
Make it. Mothers day Tea Bags


You will need: Coffee filters, Peppermint teabags, cotton thread, pretty string, scissors, fancy hole punch, a sewing machine and some stickers.
Start by emptying a teabag onto some paper, I used a spare coffee filter. Draw your heart shape around the pile of loose tea, leaving some space for movement. Pop the tea back in the bag and cut out your template. Use the template and draw around it onto your coffee filter.

Go to the opening in your bag and tip in the contents of the original teabag. Next take your string and tie three knots over each other in one end, and pop it into the opening of your bag. Take your teabag back to the machine and stitch it closed.


Sammy xxx
We would love to see if you have a go at these. Like with all our DIY's if you do, take a photo and share it with us on Twitter or instagram with the hashtag #livelovemake
Live it: Biscuiteers Biscuit Boutique and Icing Cafe


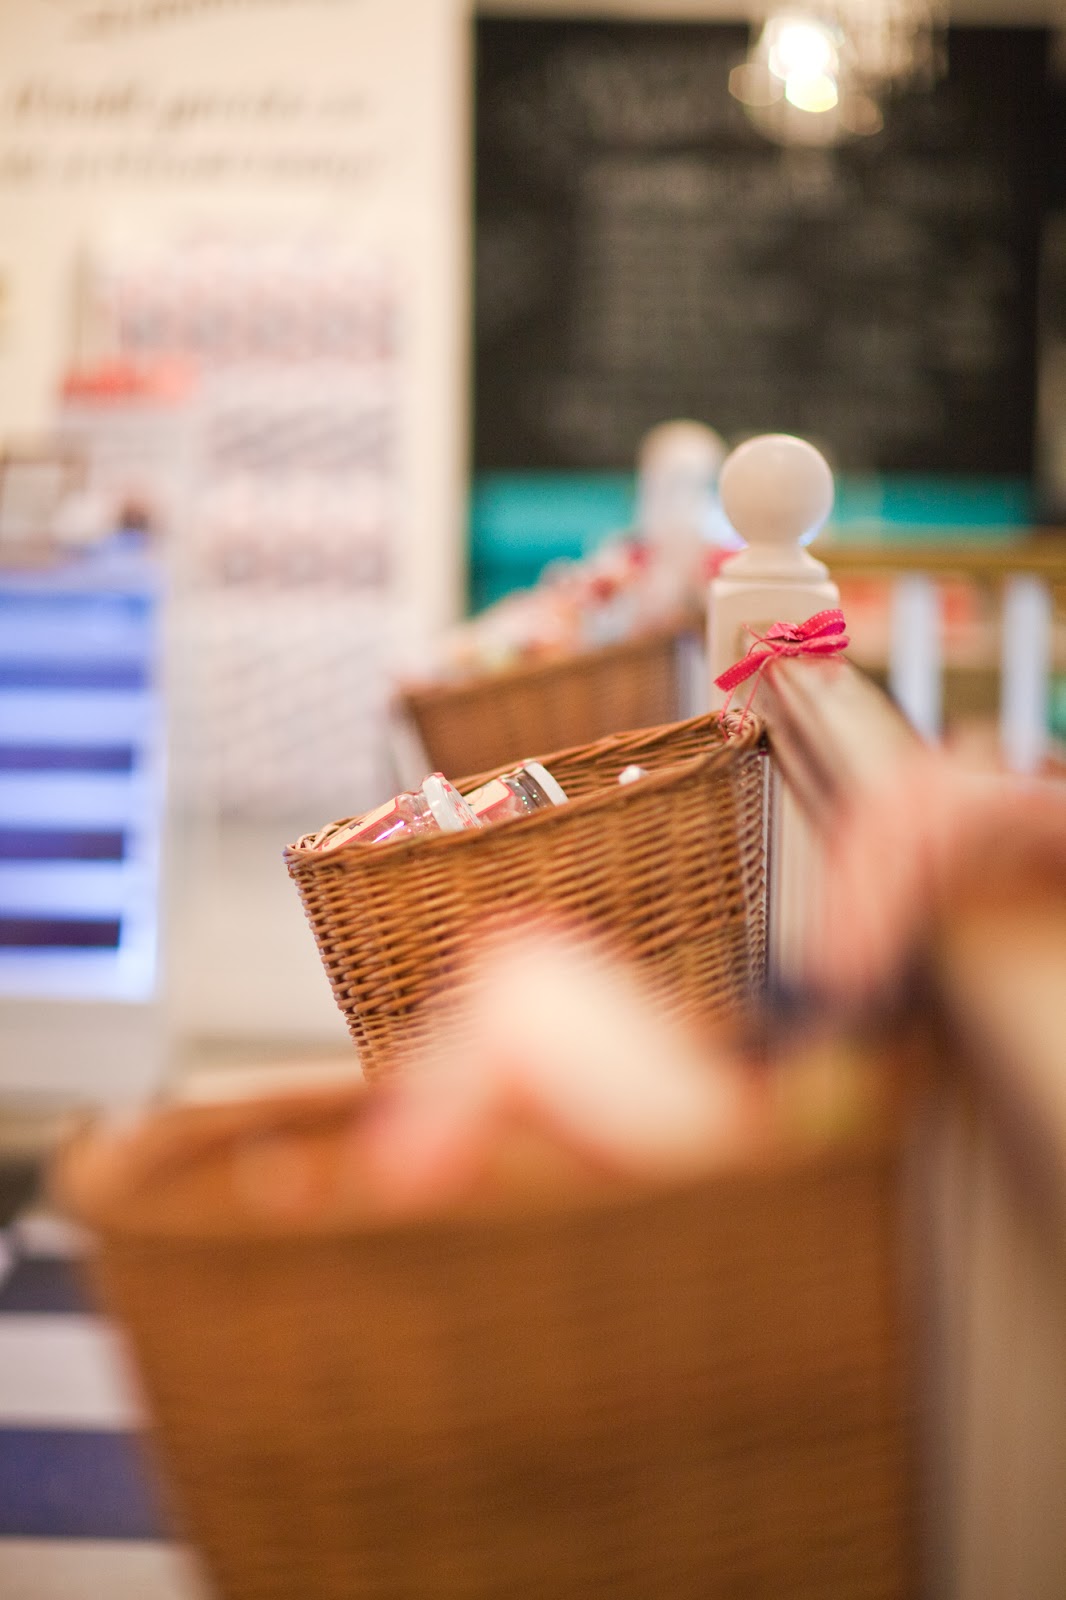

At the back of the shop there is a little seating area where you can have a sit down with a cuppa and a biscuit (or cake) from the selection in the old haberdashery display cabinet. It's a nice cosy area that is more of a quick stop-off than a sitting down for the afternoon kind of place. Although we did stay for a while! Our friend Becky works at the shop and so it was a great chance to sit and have a catch-up with her over a lovely cup of tea.


Going back to our lovely friend Becky who works for the Biscuiteers, she has just done this little tutorial on You Tube for Icing your own biscuits this Valentines Day, so cool. She has such a steady hand and makes it look so easy, I'm not sure ours would look that good! We can't wait to go back and have a try ourselves.
We had a lovely time checking out the Biscuiteers venue and will definitely be back as we have to try all the different biscuits and do some Icing of course!
H & Sammy
Declutter your Life - Part One

Those who already know me well, will know that I like to have an organised space and love a de-clutter. I do believe in tidy space, tidy mind - which I know conflicts with my creative side, but I guess there has to be an organised creative amongst us! I have even been known to help others with their sorting too - its like I have a compulsion to sort! This picture definitely represents my food cupboard!
I thought it would be a good idea to share a few of my tips for having a good old declutter as the weather is getting warmer and that means that we always like to have a sort out of all the winter clothes, so that we can make room for next year! I know there have been a few of these posts around on blogs from Mrs Thrifty and Without Dash, but I think there is always room for my little clean-up operation!
Some people - who have much more space than my rented flat can spare - can put away all their winter clothes and get all their spring/summer clothes about now. I am afraid I am all about the layering up in winter and keeping it simple in summer and so my wardrobe just has the same stuff in it all the time mostly.
Now for the fun part. I always do a declutter in stages as I feel that if you have to be ruthless it can only be for a short time, otherwise your resolve tends to fade. I have split up some stages so that you can use them as a guide, but by no means is this how it definitely should be done.
Wardrobe
- Firstly, drag out all the winter clothes as these (hopefully) are not going to be needed till next year now so what's the point in them lounging in your wardrobe when they could be gone. Some of the following will apply to these items.
- Anything that is too short in the body or sleeves needs to just go as who needs clothes that don't fit.
- Items that when you put them on, your just not sure you really like them - they should go, because your never really going to like them.
- Anything with holes in it or that has faded to within an inch of itself should either go or be relegated to the sleepwear pile. I have plenty of old t-shirts to sleep in, so a cull of these every now and then needs to happen too.
- Things which haven't been worn this winter or the last really should go too, unless of course they are classics - but then if you haven't worn them for a while, will you ever wear them?
- You can even go through your underwear drawer - anything that doesn't fit anymore as you may have lost weight! yey, or perhaps just things that have lingered in the drawer a bit too long!
You can then go through all your other clothes and see if there is anything else that fits the above criteria, as we all know we are going to buy more clothes for spring/summer, so why not make a little extra room. There may well be things you loved last year, but are now, well just not really working for you.


Jewellery
- I love my jewellery and being allergic to Nickel means that its either real silver or plastic/wood in my stash as even the nickel-free stuff doesn't cut it. So I buy fashion jewellery and then change the ear posts to sterling silver - easy!
- When I was first getting into wearing colour, I used to buy lots of colourful dangly earrings to get my colour fix. I don't tend to wear them very much now and so I thought it was time for a bit of a cull.
- This is always the toughest part of decluttering for me as they are small bits, I always have that 'what if I need it' phrase ringing around in my head.
- I start with pulling everything out and working out when I last wore them and whether they are something special I should keep - presents etc.
- Then, the rest must go as they say - but I have a plan for them, so hang on to them for now!

Bags
- For this, I get to use Sammy as a proper example. She has ALOT of bags and a cull was definitely needed as they couldn't even fit into a cupboard anymore. (The pic is some of my stash)
- We all like to have bags for different occasions, but after a while you just can't see them for the amount you have and then you just use the ones you have most recently bought.
- Sort them out into colours or types of bag, clutch, shoulder bags, satchel etc.
- Then go through and see what you haven't used for a while, can you actually fit everything you need into it or is it broken?
- You can then start to get rid of those other bags that are pretty similar to each other, I mean how many black clutch bags does one girl need!?
- You can keep the presents or special ones as sometimes having a bag that is tied to many memories is just what you need.

Phew, after all that you will probably need a good cup of tea and a slice of cake - well, why not!
If your really feeling brave, you could even start on your shoe cupboard - all rules apply!
Check out Part Two next Thursday for ideas of what to do with all this clutter you have sorted through. Don't miss it!
H
P.S. If you feel you need a bit more help, I can always come around! ha, ha
Live it: A fun Craft Day

With our Christmas break we decided to have a little craft day as it is becoming a new tradition for me and Sammy. We have been friends now for over 14 years and so we love to hang out and get creative just as much as we like to enjoy events and doing this very lovely blog. Sometimes we have to stop ourselves and actually hang out like normal friends, which has been one of the perks of the recent Christmas and New Year break, lots of time to do that! yey
We have a few tutorials coming up for you with what we did so we don't want to give too much away, but we thought you might see a little of what we get up to when left to our own devices! Sammy's poor husband must think I live there sometimes!
Firstly we started with sandwiches and cake, afternoon tea style! Sammy made a selection which were delish and if you know us by now, we like eating just as much as we like being creative! I think we were meant to tuck into these all afternoon but they were mostly finished before we even got started!

Then onto a bit of creating, we got a few projects under our belt which we have been meaning to do for ages! Some snap purses that neither of us have done before and a Kindle case for H's mum's Christmas Present based on one that Sammy had done previously - watch out for the tutorial for that.

Then there was various chatting, more tea and a bit of needle felting. I am afraid neither of us really took to this, but I have seen some really good needle felted goodies. I just think that maybe it's not the craft for us, after all not all crafts are for everyone. Even we can't love everything, although we do try!
So what did you get up to for your Christmas and New Year break? Did you get up to any new crafts or just crafts you know and love? It would be great to hear what you got up to, so please comment below and say hello if you haven't before.
H & Sammy
Subscribe to:
Posts (Atom)