You must have noticed that plants are taking over the world at the moment, it started with succulents in cute pots and then over to terrariums. I am not a green fingered person and so I am starting with some succulents and a spider plant or two, but I have been known to kill cacti before and so I am not sure how long either will last.
I found an
airplant in Sainsburys a while back and didn't like the jar it was in and so decided that I should change it up and wondered whether I could do something that will live forever too. So here is a little plants DIY for those of you like me who can kill something at five paces, or you just like the look of plants more than actually looking after them.
So for this Airplant DIY, I decided to do a bit of upcycling! For this you will need: bottle/jar (I had this jar from my
Glitter snowglobe tutorial a few years back), Air plant, patterned/coloured duck tape, sand or small stones and scissors (sorry forgot to photograph those last two!)
First up is to cover the jar lid, or in my case cork base that the globe jar will sit in and so this is where the trusty patterned duck tape came in handy. I got mine from Hobbycraft, but I am sure there are loads of places you can find this tape. I decided on the colourful zig zag pattern, so that it would go with most things in my flat.
Just put the tape all the way around the sides of the base/lid and cut off when you have reached where you started.
As the tape is a bit wider than my base, I decided to push over the edges to the inside of the base, so that it would not be seen when the globe was placed on top.
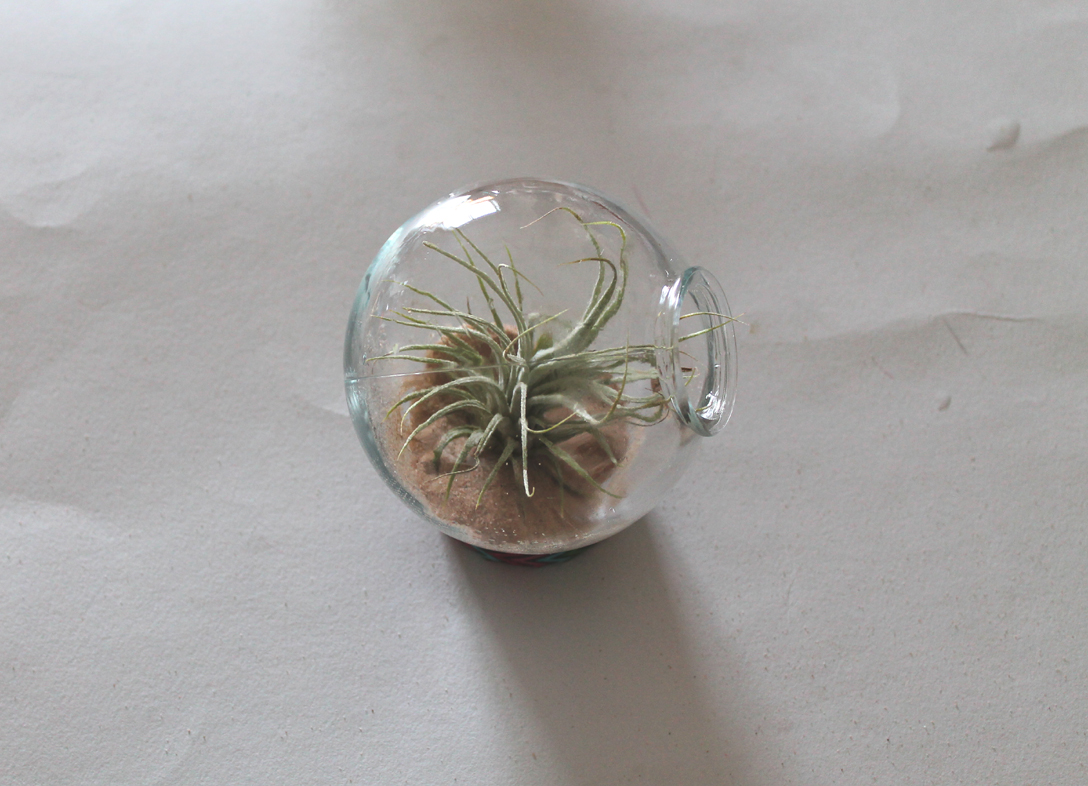
You can then place or glue your globe jar onto the base. I decided to just place it and so I can move it around if I want. This also comes in handy for when I manage to kill said Airplant and I decide to use this jar for something else! Ever resourceful hey!
Then, place your sand or small stones in the base of the jar and pop your air plant inside. It is always good to have an opening for your air plant that you can get into as you will need to spray your air plant once a fortnight.
Done, that one is very nice and simple. So I thought I would go ahead and make a different kind of plant DIY to keep you busy. This one requires no watering at all.
For this Paper plant you will need: Card in colours of your choice, vase/jar, pencil, ruler - if you so wish, scalpel/craft knife and a cutting mat.
Firstly, sketch out your plant ideas onto your chosen card colours. I always like to sketch onto the side I don't want to see and so all the pencil lines will be hidden. You may want to make sure you mirror image your design if you so wish it to be in a certain direction when you put it the right way around.
Start to cut out your designs on the card, making sure your blade is sharp and you don't rip any small cuts. I always like to do the smaller details first and so the card is not weakened for when you are trying to do smaller details.
Depending on the card you have chosen and the height of your 'plants', you may need to give them some extra strength by adding some wire to the back with some superglue.
Then you can pop them in your chosen vase/jar and you have your plant for life! So simple.
Here they are together, looking great together if I do say so myself. I have the feeling that I need a third plant to add to it, so maybe there might be something else to be added soon! ooh the intrigue.
How do you like these? They are super quick and fun to make. I love a cheese plant, but just don't think I have the skills to keep it alive! So this is perfect. A little mini garden can now sit on my desk looking all pretty while I work.
What plants would you choose? If you have a go at this or any other tutorial, don't forget to #livelovemake on twitter or instagram so that we can take a look.
H,xxx

Bloglovin / Twitter / Facebook / Pinterest / Google+ / Instagram