

Last week I spoke about how to choose a dress pattern, this week I am going to give you some of my tips on how to read a pattern. As I said last week, Patterns can be intimidating if you have never used one before, but once you know what you are looking at it becomes a whole lot clearer.

Try and think of your pattern as an instruction manual. The information is split up in to different parts to guide you through the process you will need to buy your materials and construct your garment.
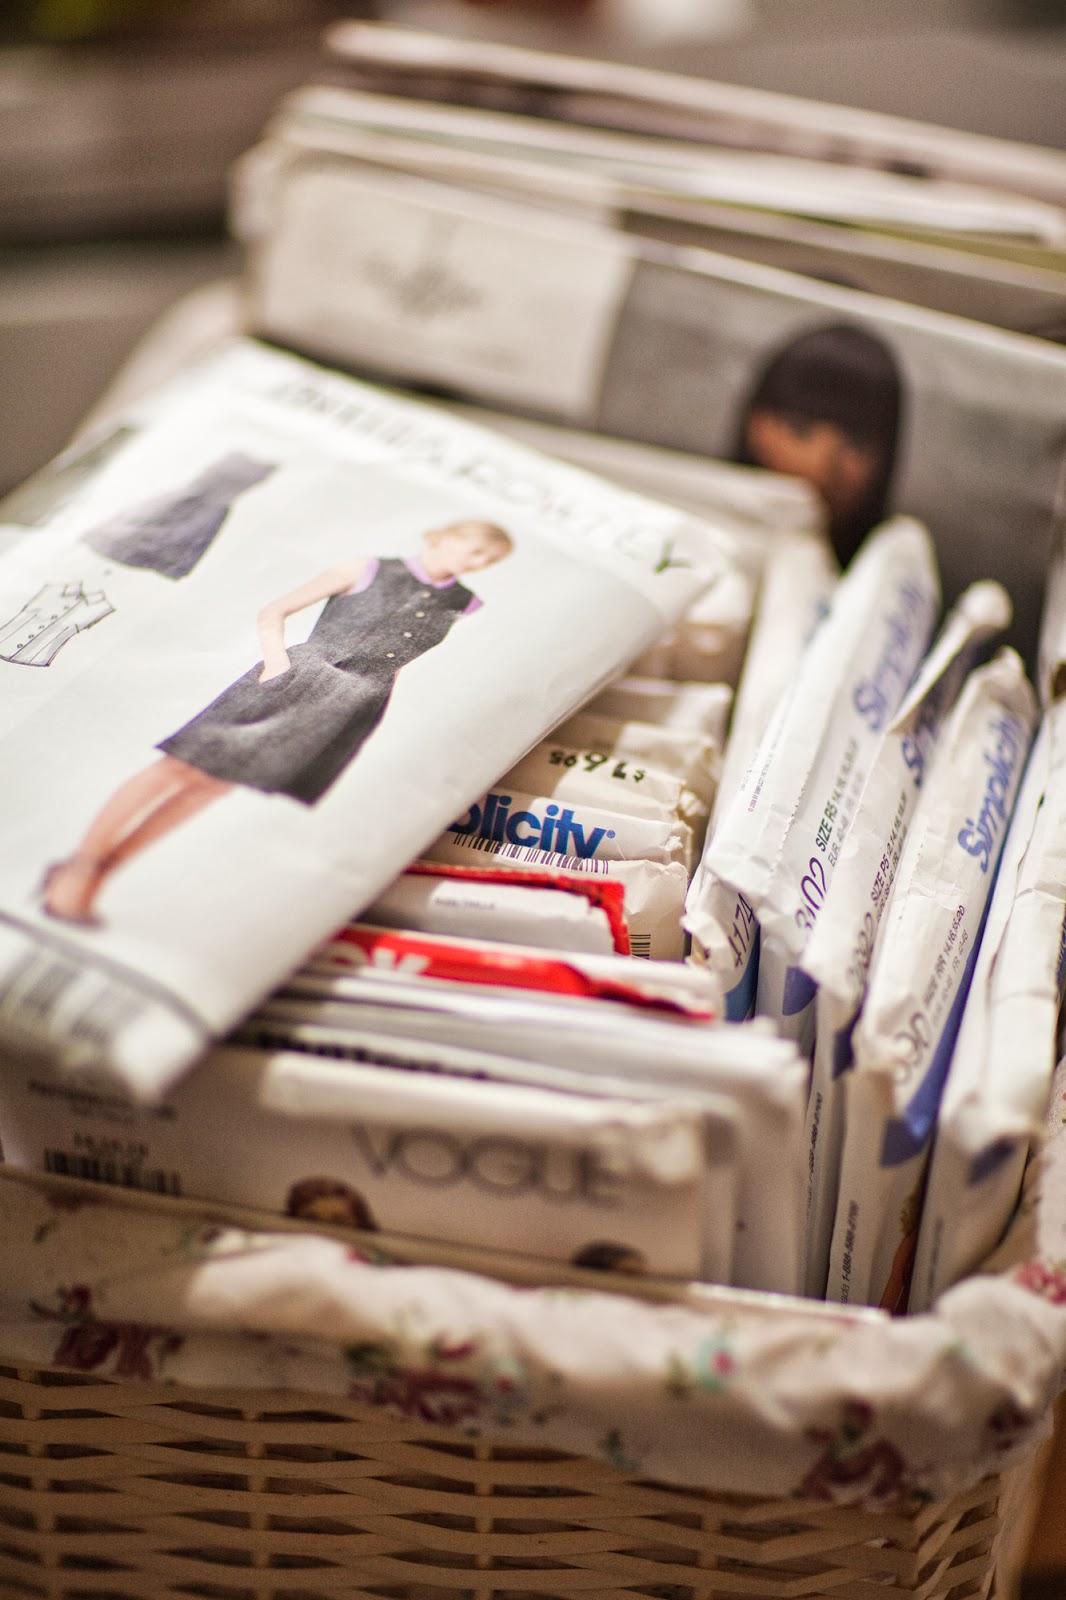
The Pattern Envelope


The front of the envelope will have the picture of all the garments you can make from your pattern, it will also have the pattern number and the sizes that you can make from it.

The back of the envelope is where it can start to look a little scary. There is a lot of information here, some that you need and some that you don't.

It can be more complicated for us here in the UK because most patterns are printed in the USA where they still measure in imperial (inches and yards) and mostly shops in the UK we sell by metric ( metres and centimetres) Don't panic. They will always print the metric amounts on the pattern envelope ( unfortunately on the French side of the pattern )

First you need to decide which of the designs within your pattern you are going to make. You can see small drawings on the left which will show you the difference between the styles and give you a letter code for that style, it may be a neck line or a sleeve option or a length option. The image on the front may also give you the letter codes you need to identify the style. Then you can work out the size you need to make, as I mentioned last week, this is important as pattern sizing is not relevant to shop sizing.

Go by your body measurements and make the size that will fit you, you can always take it in a little if it's too big, but if it's too small it wont fit at all.

By following down the column under your size you can see how many metres of fabric each design takes. By matching up the letter code for your choice of design with the your size column you can see how much you need to buy. Your pattern may give options for different widths of fabric, usually 115cm (45'') or 150cm (60'') so you will need to check which width your chosen fabric is before you buy so that you get the right amount. once I have bought the pattern I often use a highlighter to mark the column with my size so it is easier to follow in the future.

Also on the back will be a suggested fabrics section where you will find some suggestions for the kinds of fabrics that the pattern is designed for and the Garment measurements, which will give you an idea of the fit of the garment (whether it will be tight or loose and the length)
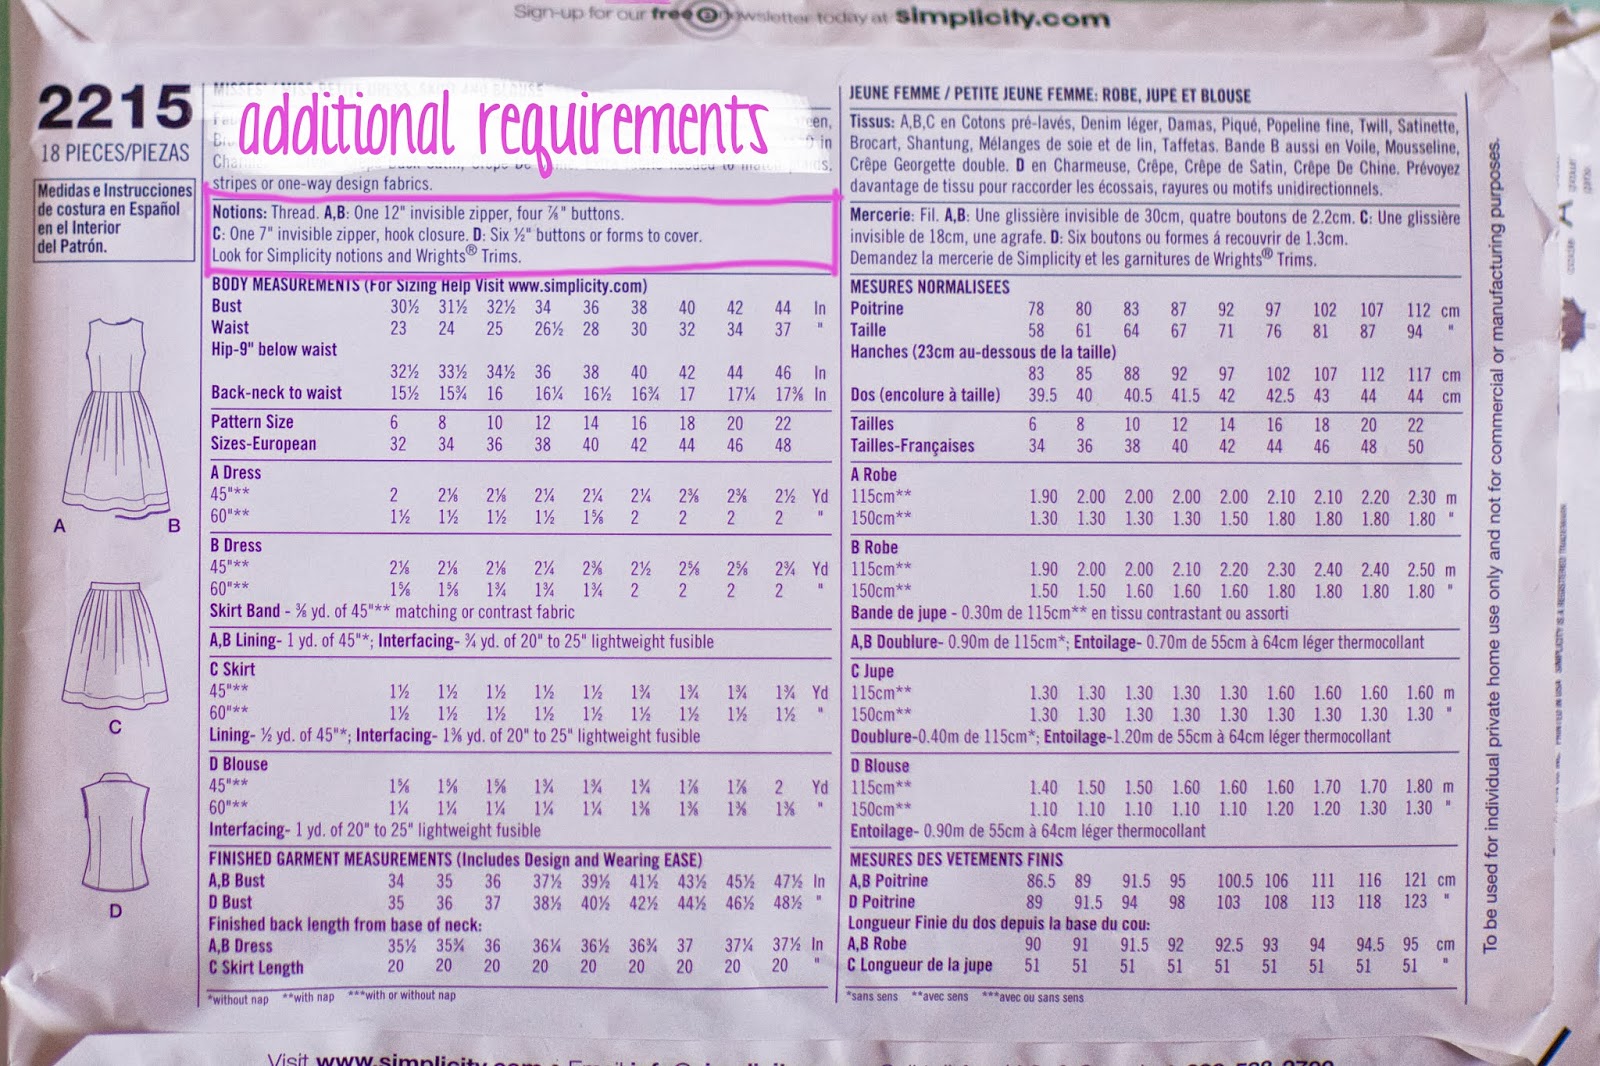
Lastly you will find the requirements section (sometimes called notions) which will tell you what else, other than fabric, you will need to complete the pattern. This is where you will find what size zip, buttons or elastic you need and any additional trims etc.

Usually, if your pattern requires interfacing and occasionally trimmings, they will be listed under the letter listing for each design.
By following the back of the envelope you should have all the items needed to make your garment.
That's a lot of information to take in so I'm going to leave it there for this week. Next week we will cover the inside the envelope, pattern instructions and the pattern tissue. Check out part 1 here and part 3 here.
Sammy xxx