Make it: Children's Dinosaur Hoodie

A few weeks ago it was my niece's 2nd Birthday and I thought that I would make something a little special for her.  I am super excited about this make as its right up my child-like-brain street and have been asked to make many an adult version since - shows my friends have a similar philosophy to me!

I found this bright Purple H&M hoodie a few weeks ago and was just working out the right thing to do with it.  A bit of bright green felt meant that I thought of just the thing, making it into a dinosaur hoodie - of course!

This is a really simple customisation, but it does require a little time and patience.  You will need:
Hoodie/ Jumper, coloured felt (length of the hood and back in one), threads, sewing machine, scissors, pinking shears, ruler, tape measure, black sharpie pen, seem ripper and a chalk pencil/piece of tailors chalk.

On the hoodie I chose, there was a back seem on the hood and so I ripped the seem, keeping the tip of the hood in place as it was overlocked and it made for a neat seem.  Using a ruler (as my cutting is not straight) and a chalk pencil draw a line down the back of the hoodie from the centre line on the hood.

Now to make the dinosaur spine.  Measure from the tip of the hood right down the back of the hoodie to get the right length for your spine. I added a few extra centimeters just in case.  Using a black pen draw on your felt the shape of your spine, make it to the desired length.  Now cut a second piece of felt to the right length and so you have two sides.  

I tacked the two pieces together (using a white thread and a long stitch) as I feel that this helps to keep it all together much easier than pins for such a long length.  Then with a matching thread, follow your pen lines with a straight stitch, to make your spine.  When you are making zig-zag shapes it is worth keeping your needle in the fabric at the change of direction points and so you can swivel it around to the next direction.

Once you have sewn all your spine, you can unpick the tacking and then follow the sewing line with your scissors to get rid of any excess fabric.  Cut off the tip of the triangles (making sure you don't cut through the sewing) so that when you push it through, the tips are sharp.

Pull through the spine to the right side and using a pencil or fat crochet hook (like me) you can push through the triangles so that the tips are as sharp as possible.  Then again, I tacked around the bottom edge and so the next step became easier.

Attatch your spine to the hoodie by putting the felt against the right side of the hoodie at your cut edge, making sure the triangle spikes face into the hoodie.  Follow the edge of your cut middle part of the hoodie and pin into place.  Then put the other half of the jumper on top, making sure that any join points are in the same place and keep the bottom of your hoodie in line with each other.  I chose to tack this in place, but you can pin it if you prefer.

I used a matching purple thread and a zig-zag stitch along the length of the hoodie, making sure I kept all the layers together.  The zig-zag stitch will keep it nice and firm into the hoodie.

Fold it around to the right side and you can see what you have done!  You can also make sure that the spine is in the right place and that it looks right before you look on the inside, cut all the threads and using pinking shears cut the excess felt from the spine.

You will then end up with a hoodie that looks a little like this!  You can change up the colours however you like and make the spine thicker or larger as you want it.  I then saw that Jenni on The Sewing Bee made something similar in the customisation challenge and so it must be cool to make one!

If you have a go at something similar let us know via Instagram or Twitter using the #livelovemake.  We love seeing what you get up to.

Have a great Monday!
H

Make it. Patterned Innersoles

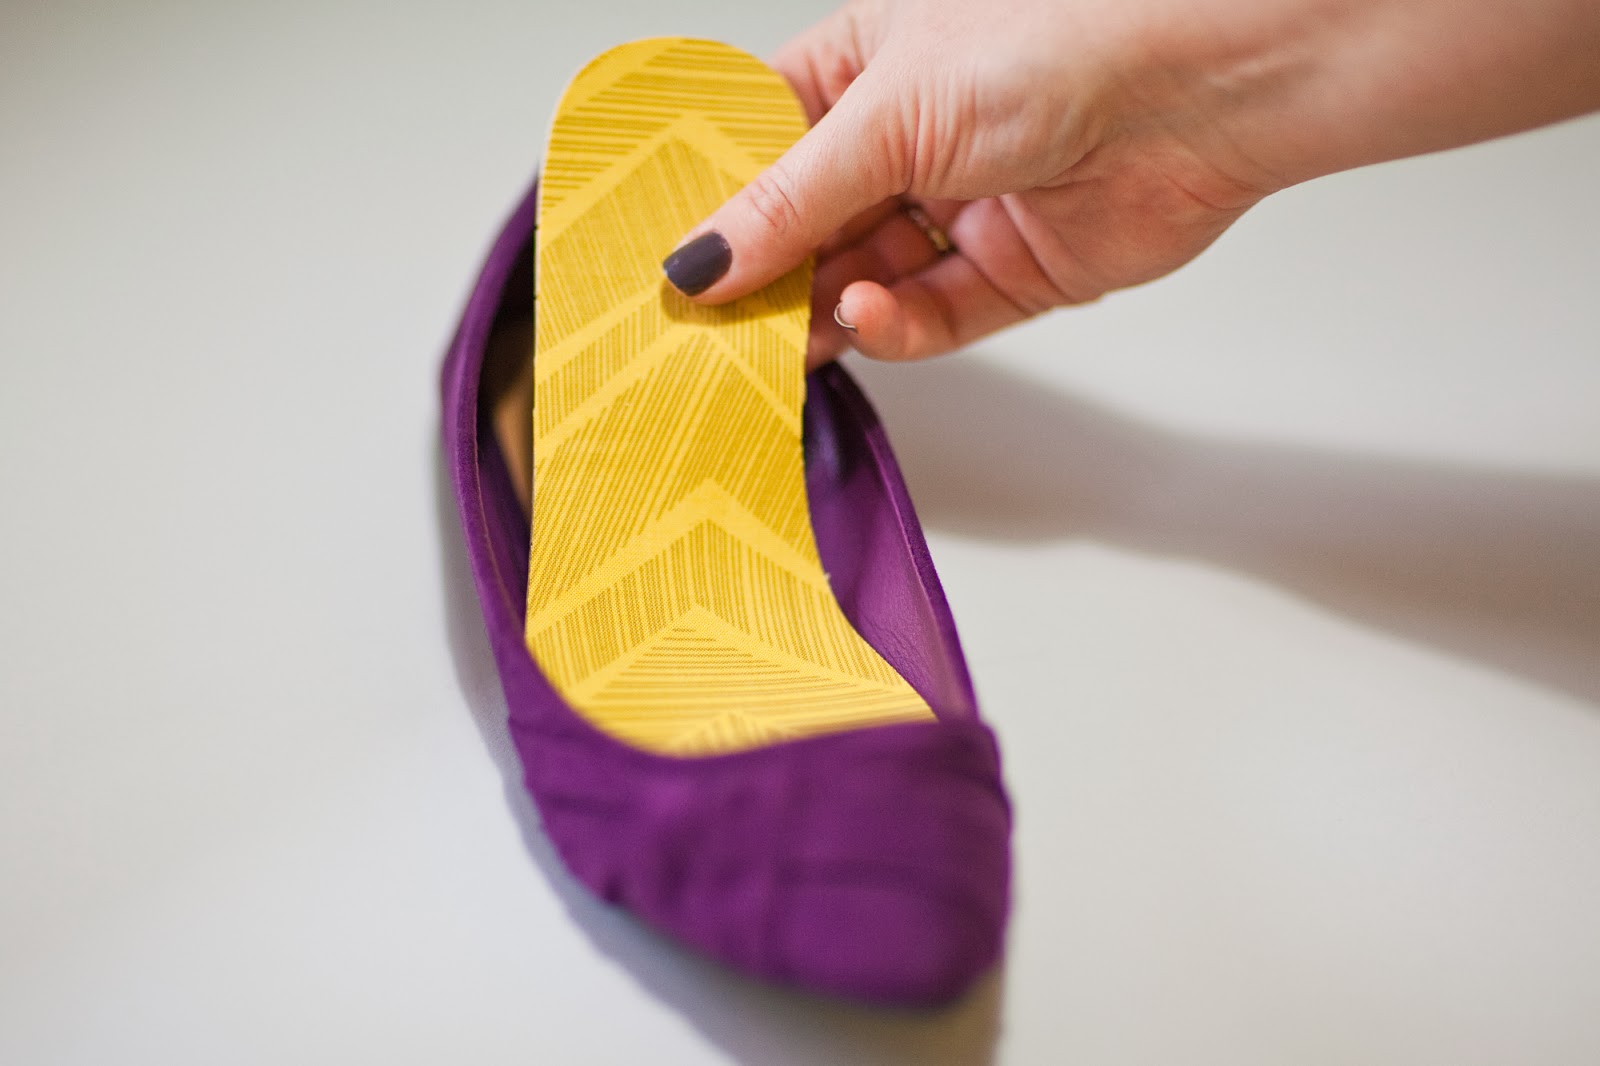
I have a thing about shoes, I like them to be pretty. I am that girl who buys a pair of shoes not just because they are practical but because they look pretty on my shoe rack. I am a half size, so I often end up having to buy a size up and popping in an innersole. In order to keep them pretty, a few years ago I started covering those hideous beige innersoles with pretty fabrics, so today I am going to share how I do it, so you can make all your shoes extra pretty too. 

Just a note, if you don't need the addition of the padded innersole, you can just swap them out for medium weight interfacing to get all the pretty but without the padding. 

You will need: pretty fabric, a pair of cheap innersoles, scissors, Bondaweb (fusable web) and an iron.

Bondaweb or fusable web is one of my 'go to' craft items. It is a web of heat activated glue with a paper backing, brilliant stuff! 

I started by cutting a piece of Bondaweb and my piece of fabric big enough to fit my two innersoles on. 
Then placing my bondaweb glue side down on to the back of my fabric iron the two together.
I leave it to cool for a moment whilst I cut my innersoles to size before peeling the paper backing away.

I placed both innersoles face down onto the fabric, then flip the whole lot over before ironing the fabric in place. I used a piece of freezer paper on my ironing board so the areas not covering the innersoles don't stick to the board (I learned that the hard way).  Again, I leave it to cool before checking that the fabric is well adhered to the innersoles. If not, I run over it again with the iron around the edges. Then I go ahead and cut the excess fabric away. Then the new pretty innersoles are ready to go into my shoes.

I know it is only me that usually gets to see the inside of my shoes, but sometimes the littlest things can put a smile on my face. Knowing that the inside of my shoes can be as pretty as the outside is one of those things, and boy does it jazz up my shoe rack!

They are so easy to do and a great way to use up some fabric scraps. Will you be jazzing up your shoes this weekend ??

We would love to see if you have a go at these. Like with all our DIY's if you do, take a pic and share it with us on Twitter or instagram with the hashtag #livelovemake

Sammy xxx

Who's Who: Laurie King

This month we have Laurie King over for a chat.  H first saw him over at The Lightbox Craft Fair and as he also learnt Screenprinting at the Ochre Print Studio (Local to Woking), it would have been rude not to show you what his work is all about.

Who are you?
I am Laurie King, thank you for asking me to be a part of your blog.

What do you do?
I draw a lot. I ride a bike. I run in the woods. I work as a Graphic Designer. I screen print for fun.

How did you start?
I very rarely write much down. Normally it’s illustrated, sometimes its photographed. Seeing ideas visually makes confusing stuff simple.

My degree is in Graphic design (my proper job) and interest in the arts, creativity and good old hand drawn illustrations.

I was very lucky to have won a competition entitled "Surrey in 2012". Surrey being home to Boxhill and the highlight of the Olympic Games and myself being a keen cyclist it was not to be missed. The short edition of 40 was hand printed by Julie and Annee at Ochre Print Studio in Guildford, and was shown at The Royal Albert Hall and sold out.

Now I had to learn how to hand screen print myself, I joined one of Ochre's workshops and made loads and loads of mistakes, mess-ups and the odd triumph. I still make plenty of mistakes but have learnt how to solve (most of them). Personally I believe it is important to make things with my hands, there are plenty of editioners out there but it’s not quite the same, if I put my name on the bottom I need to have done it, the proper way!

2013 was exciting. I had the opportunity to present Sir Bradley Wiggins with my print "Yellow Jersey". Seemed only appropriate the man in the picture should have one of himself.

I also launched a cycling accessory. The water bottle.

What's Next?
I was contacted by The Lightbox and asked to exhibit this year. 8 pieces being hung in their cafe gallery - Taste of Art.  A real honour and nice to share some space with some great artists.

Laurie has a Screenprinting workshop coming up in June at Gorgeous Gerties in Dorking, you can go to his website to find out more information.

Looking beyond that my goal would be to build laurieking.co portfolio.

Big goal: I've not got a clue.

What advice would you give yourself if you could go back to the beginning?
Be more confident. Don't worry what others think.

One of the great things about Laurie's work is that it appeals to both men and women, something which you rarely find at craft fairs.  There is alot out there for women, but not so much for men.  Laurie's work would make a great gift for the bike mad person in your life.

You can also find him at the below places.


Screen Print: www.laurieking.co


It's all fuelling H's printing obsession.
H & Sammy

Please Note: All pictures are owned by the interviewee and so should not be copied without permission.

Hidden Treasures: Frock & Roll

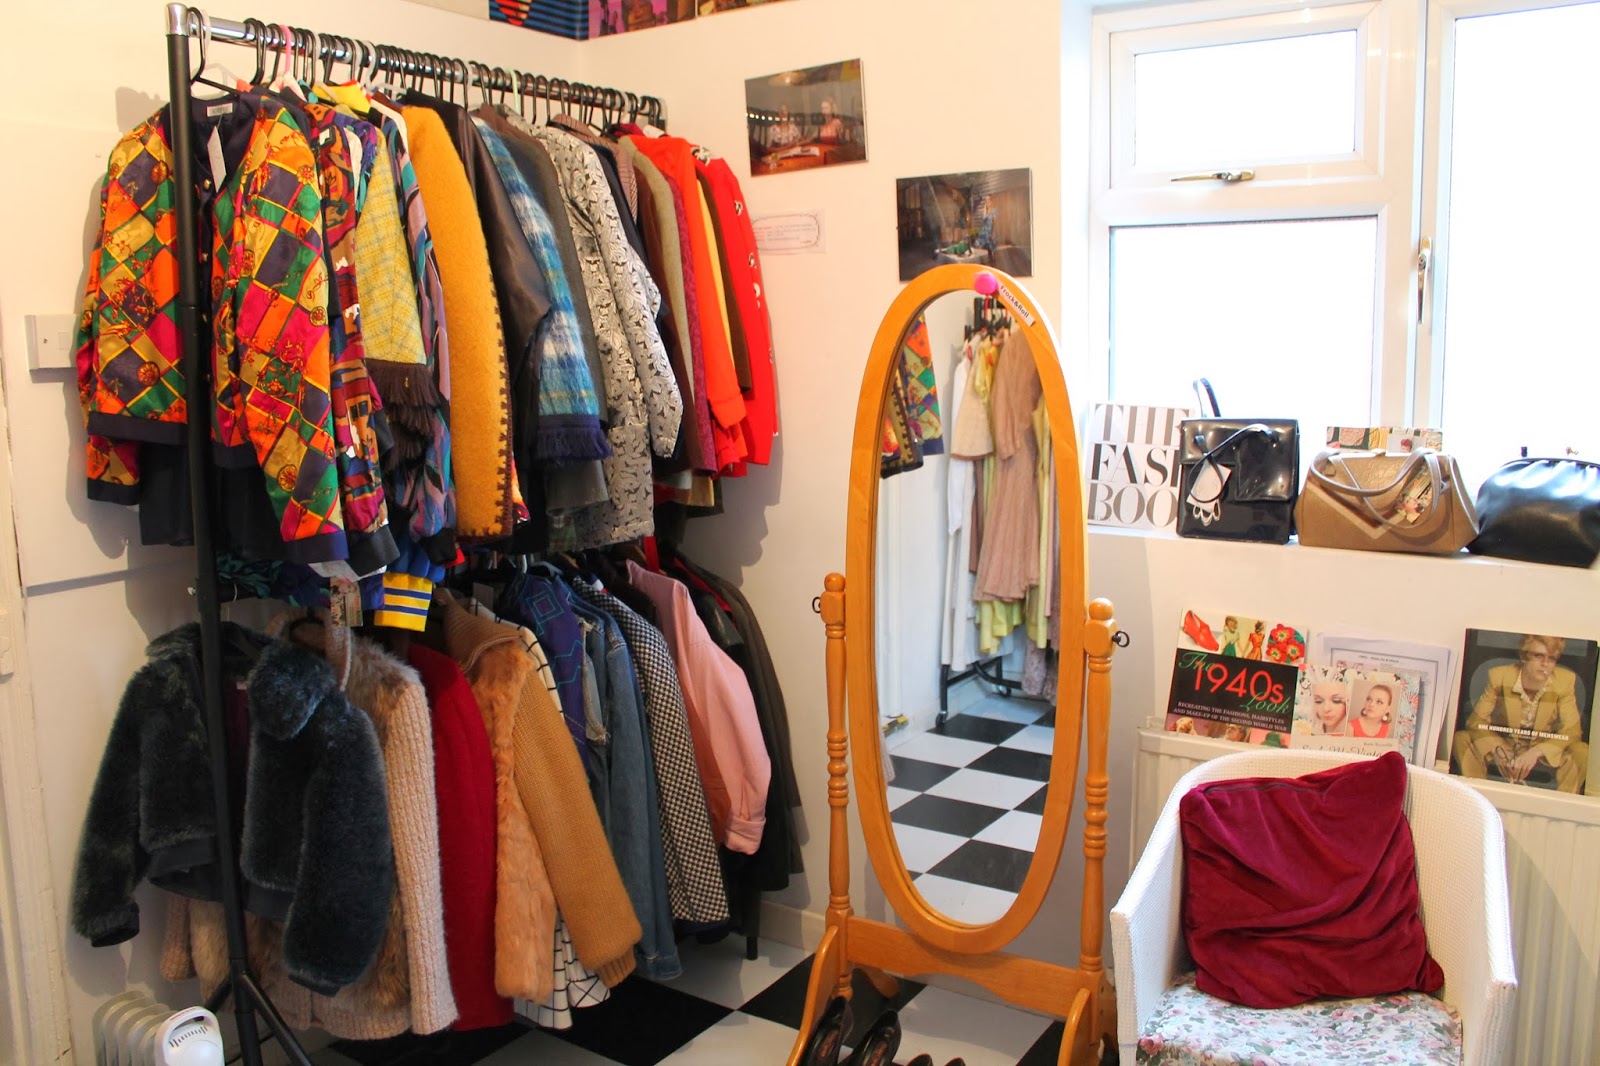
We found this little Gem of a shop when we did our Live it Vintage event way back in 2012 and since then it has given H the excuse to go back for visit after visit.  Many a wedding outfit has been bought and alterations still to be finished in the wardrobe - what is it with me not finishing clothes?!  This visit resulted in a 1960's skirt purchase, but no alterations required! yey.

Frock & Roll is tucked a little bit out of the way in Reading and so you definitely need to know it is there to make the effort to walk up to it, so it definitely fits our hidden treasure category.  But if you work at the hospital or go to the University of Reading you will be right around the corner and if you love Vintage, you will make the effort.

When you go in there is just row after row of Vintage treats on offer, from men's attire through to women's, skirts, dresses, tops, coats and of course all the accessories to go with.

There is a large array of Jewellery as well to go with your outfit and so something for everyone.

You can peruse all the clothes at your leisure and there is a changing room and dressing area set-up so you can see colours and styles.

All in all, Frock & Roll is a treasure trove of all things Vintage and they do go to events too and so if you can't make it to the shop, you could see them at an event.  Thanks to Ali for once again making it impossible to leave without buying something!

Am off to see what I can put with my new skirt.
H

Come Craft with us: Bunting Workshop


On Thursday 27 March we will be running our penultimate class at Norden Farm, Maidenhead.  This one is to make your own personalised bunting in a name of your choice.

We have such fun at these classes and so hope that those close to Maidenhead will come and see us and of course make your own personalised bunting.  Both Sammy and I have our own on our walls and so its a great thing for yourself or for a gift.

The workshop costs £20.00 each and runs from 7-8.30 pm.  
All materials are supplied for you, so just turn up and have a go.  
You can book here.

So, please do come along and rummage through our fabric stash to create your own personalised bunting using hand sewing techniques. Depending on the name you choose you may not finish within the session but you will be well on your way before you leave.

Also, our last workshop will be a Jewellery 101 session on Thursday 24th April and you can find out more details about the workshop here.

Looking forward to meeting some of you then.

H & Sammy


Make it: Top 10 Cement DIY's


Just occasionally, the craft world finds a new favourite material, like Washi tape, gold spray paint, Sharpies and tissue paper before it, the DIY-ers material of the moment is definitely cement.  From door knobs to jewellery this hard, grey, rough material, more at home on a building site, has stolen a place in our hearts. And now that you have seen what these master DIY bloggers have created with it, I am sure you will agree.

Sammy xxx