Its our final day of Makers Month and what a treat we have for you today. We spoke to the very lovely Amy at Super + Super who are based in Brighton and now Nottingham, who gave us one of their lovely tutorials from their Printmaking book. Go check out their other books too, they have Embroidery, Papercutting and Crochet too.
So over to Super + Super. This is one for the textile lovers and is a slightly more technical project. Try to source some second-hand or vintage fabric to give this 1950s-inspired print a little extra authenticity.
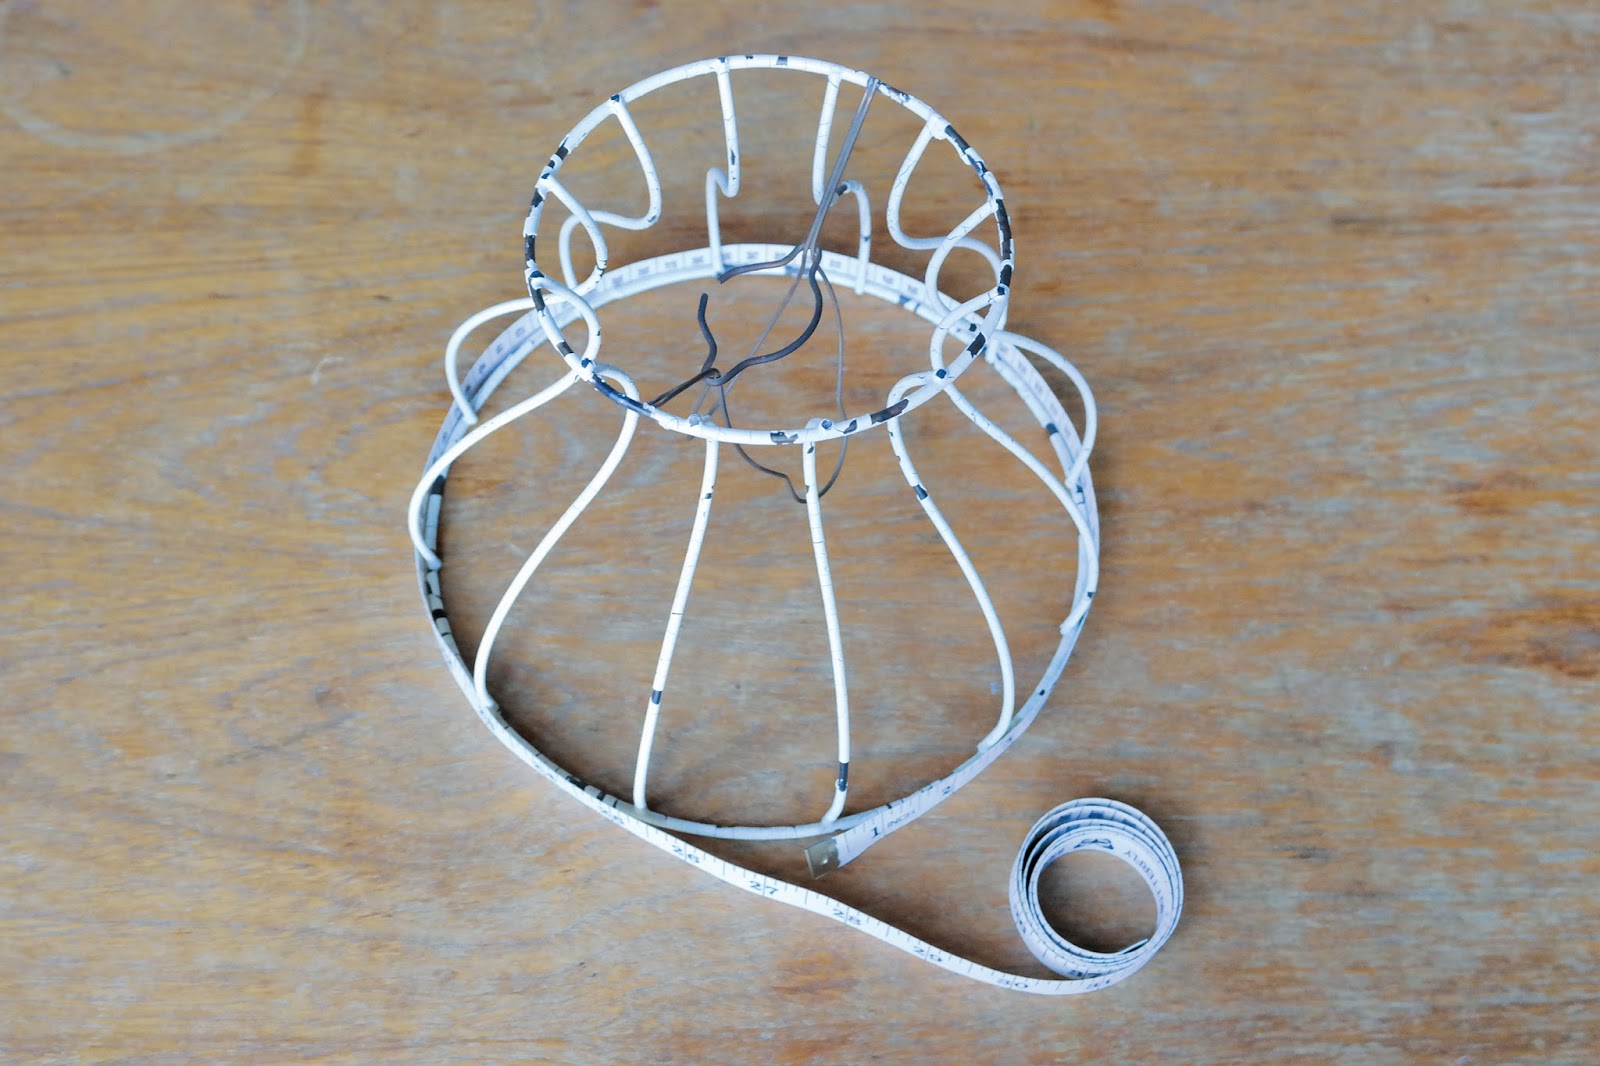
1. Remove any remains of old fabric covering your lampshade frame. Measure the top and bottom diameters of the lampshade. The biggest measurement will be the length to cut the fabric to.
2. Now measure the height of the lampshade. Once you have these two measurements, you need to add 5⁄8in (1.5cm) at each end for the seam allowance.
3. To make the stamp take a 20in (0.5m) long piece of string and wrap it around the width of your wooden block and tie in a double knot at the back. Then wind the string around the block about eight times. Move the string around a little until you are happy with the spacing.
4. Pour some ink onto an old plate and load up your sponge roller.
Tip! Sponge rollers are cheap and are the best way to spread your ink evenly, especially on bumpy surfaces such as this string creation.
5. Working from left to right or vice versa, print in straight lines across the length of your fabric. Turn the block 90° to the left and right between each print to alternate between horizontal stripes and vertical stripes.
6. Once you have covered the entire surface, hang the fabric up to dry. You can speed up the drying process with a hairdryer.
7. Pin 5⁄8in (1.5cm) hems along the longest sides of the fabric, which will be the top and bottom of your lampshade. Later these will be used to thread a drawstring through to fit the fabric to the frame.
8. Sew along the length using straight stitches in a colour of thread that matches the fabric. You could use a machine for this if you have one. Secure at each end by sewing a few stitches backward and forward at the start and finish.
9. Now, with the right sides together, pin the two short ends together and sew 5⁄8in (1.5cm) in from top to bottom. Secure in the same way as you did in step 8.
10. Now press the fabric to fix the ink and remove any creases, then turn your tube the right side facing out. Check it fits over the largest part of the frame, then remove again. Using your embroidery needle, thread long lengths of string through the top and bottom hems, gathering as you go.
11. Place the fabric over the frame and pull the strings to gather around the top and the bottom edges of the frame, securing with a bow.
12. Take your ribbon and tie it around the neck of the shade to pull the fabric into shape. Finally, readjust the string at each opening before knotting securely and trimming any excess length off.
Thanks to Amy and Super + Super for the great tutorial, you can take a look on their website or facebook page for more and follow them on Instagram @supersuperhq.
And Thank you for reading all our Makers Month Posts, we have had great fun once again with our themed month of Maker joy. We hope you enjoyed them too, which was your favourite? Let us know in the comments below.
See you Friday!
H & Sammy

Bloglovin / Twitter / Facebook / Pinterest / Google+ / Instagram


