Showing posts with label fabric printing. Show all posts

Makers Month: Super + Super Retro Lampshade Tutorial


Its our final day of Makers Month and what a treat we have for you today.  We  spoke to the very lovely Amy at Super + Super who are based in Brighton and now Nottingham, who gave us one of their lovely tutorials from their Printmaking book.  Go check out their other books too, they have Embroidery, Papercutting and Crochet too.

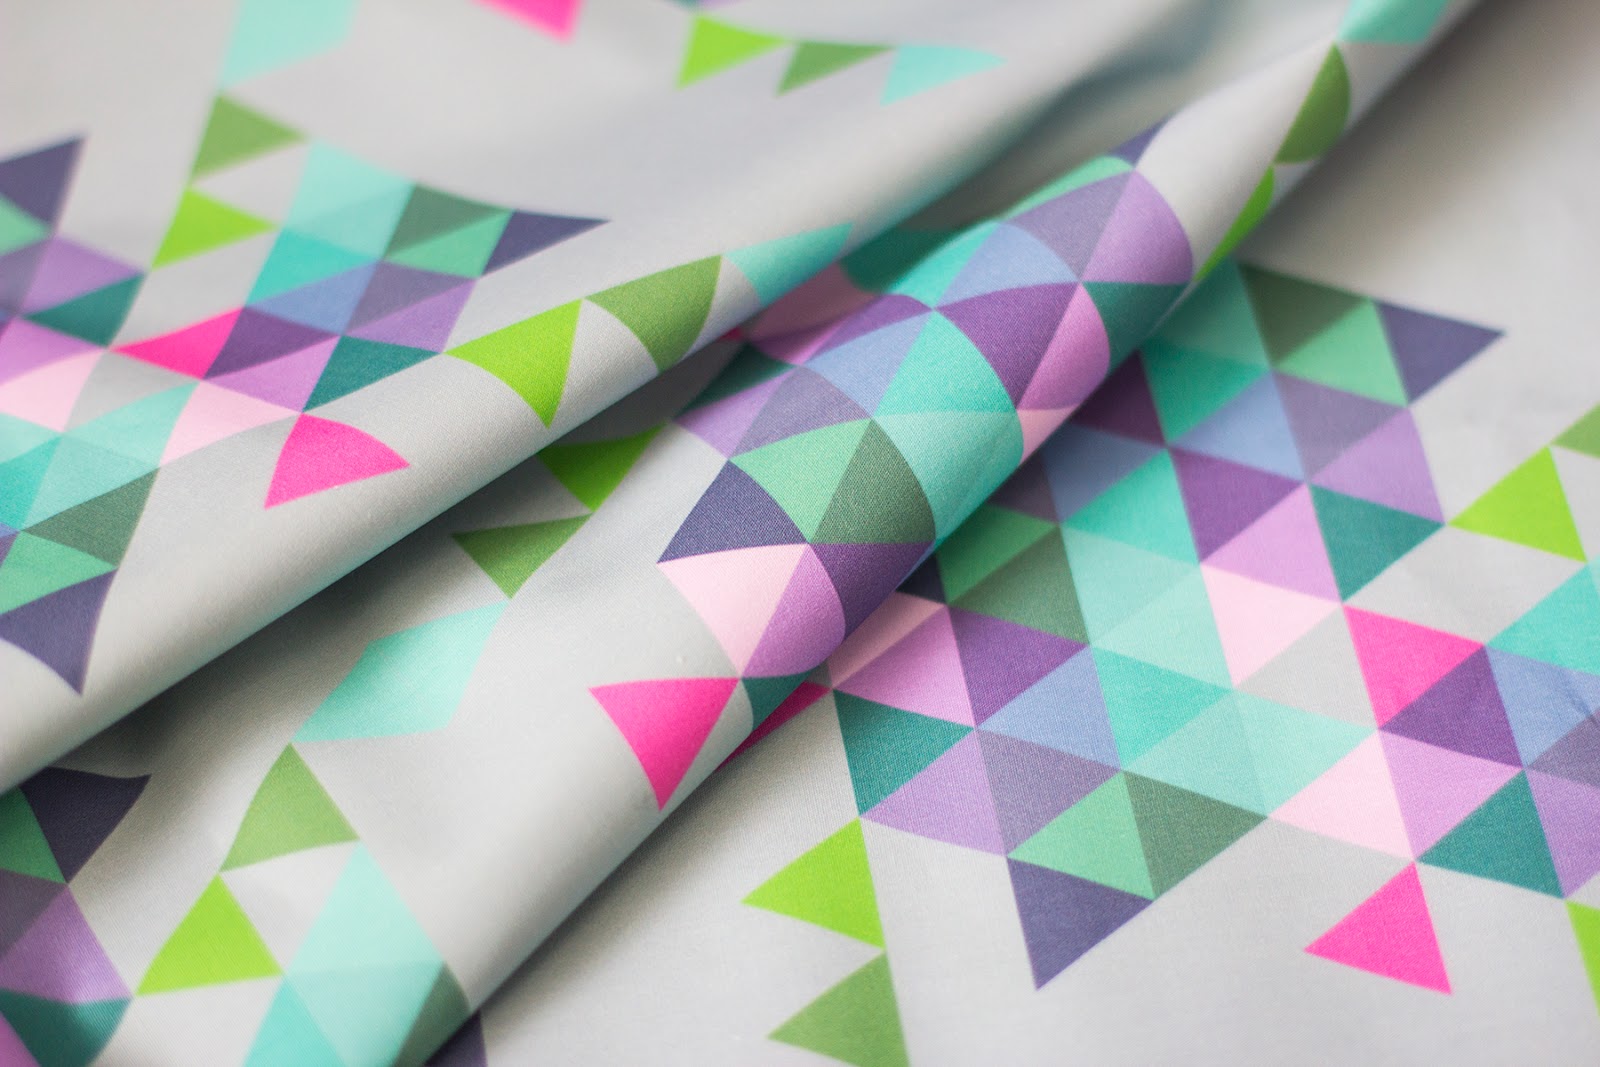
So over to Super + Super.  This is one for the textile lovers and is a slightly more technical project. Try to source some second-hand or vintage fabric to give this 1950s-inspired print a little extra authenticity.

What you need:  Old birdcage-style lampshade frame, Up to 39in (1m) of plain white fabric, Scissors, Pinking shears, Pins, Fabric ink or paint, Sponge roller, Small wooden block, Cotton string, Embroidery needle and sharp, Thread, 39in (1m) ribbon, Tape measure.


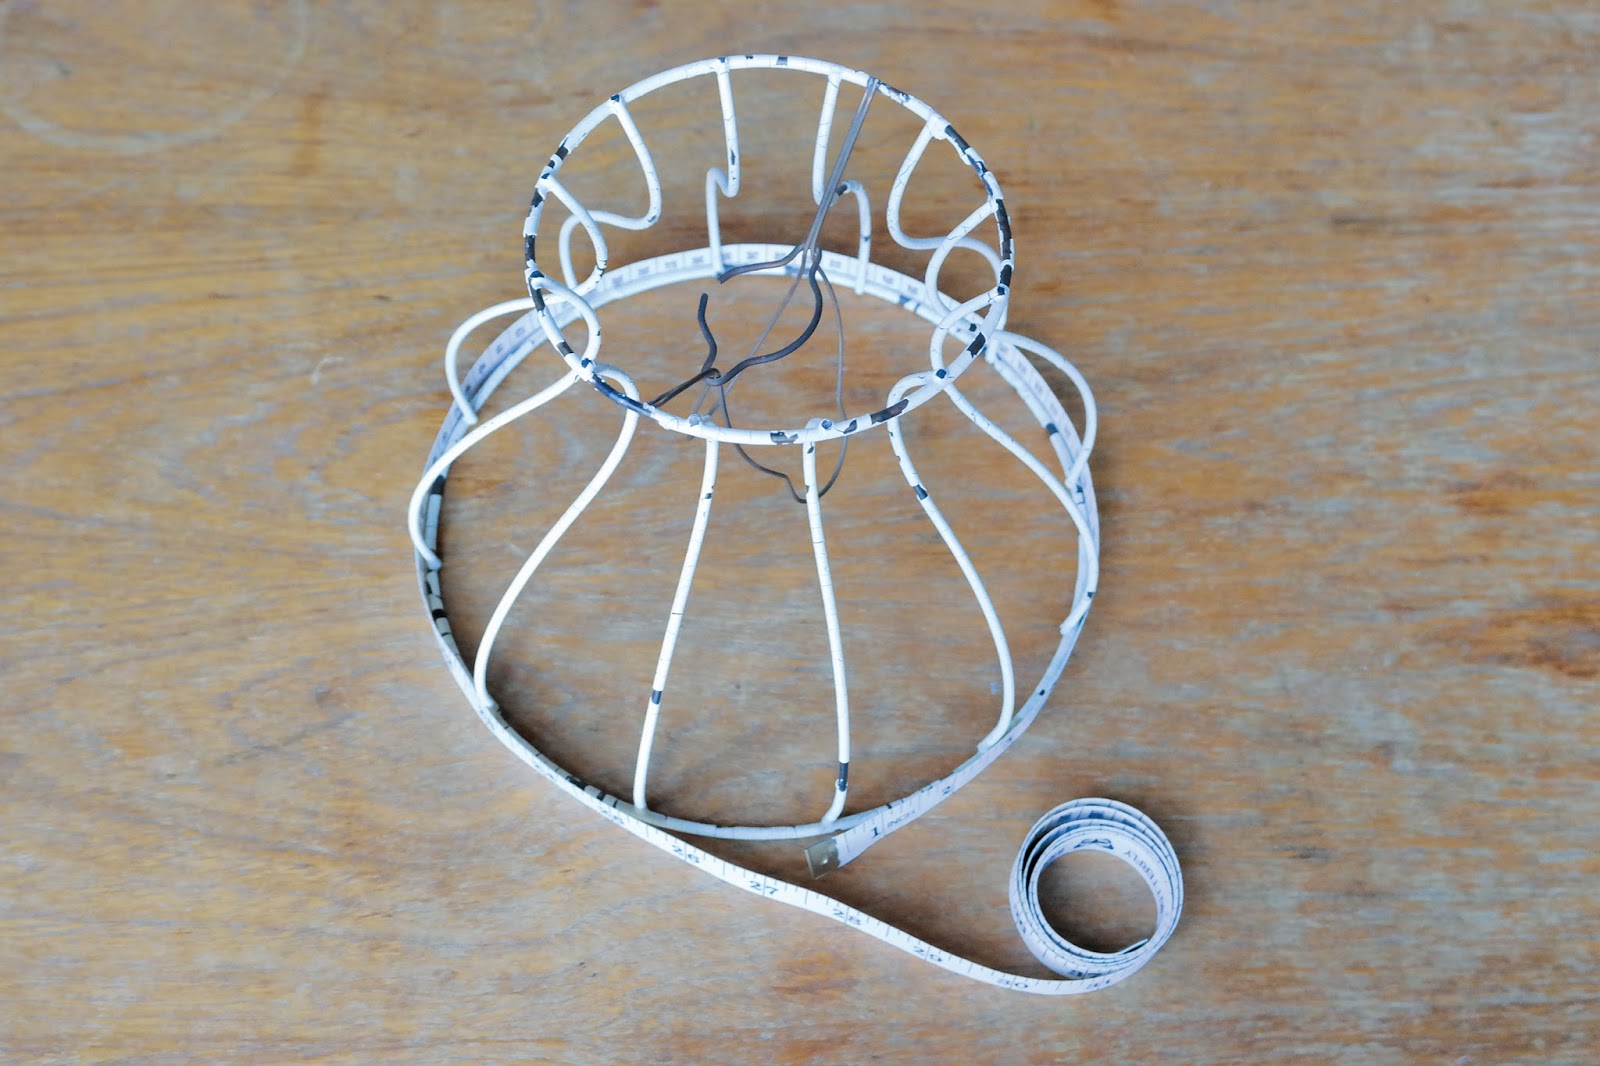
1. Remove any remains of old fabric covering your lampshade frame. Measure the top and bottom diameters of the lampshade. The biggest measurement will be the length to cut the fabric to.


2.  Now measure the height of the lampshade. Once you have these two measurements, you need to add 5⁄8in (1.5cm) at each end for the seam allowance.


3.  To make the stamp take a 20in (0.5m) long piece of string and wrap it around the width of your wooden block and tie in a double knot at the back. Then wind the string around the block about eight times. Move the string around a little until you are happy with the spacing.


4.  Pour some ink onto an old plate and load up your sponge roller.

Tip! Sponge rollers are cheap and are the best way to spread your ink evenly, especially on bumpy surfaces such as this string creation.


5.  Working from left to right or vice versa, print in straight lines across the length of your fabric. Turn the block 90° to the left and right between each print to alternate between horizontal stripes and vertical stripes.


6.  Once you have covered the entire surface, hang the fabric up to dry. You can speed up the drying process with a hairdryer.


7.  Pin 5⁄8in (1.5cm) hems along the longest sides of the fabric, which will be the top and bottom of your lampshade. Later these will be used to thread a drawstring through to fit the fabric to the frame.


8.  Sew along the length using straight stitches in a colour of thread that matches the fabric. You could use a machine for this if you have one. Secure at each end by sewing a few stitches backward and forward at the start and finish.


9. Now, with the right sides together, pin the two short ends together and sew 5⁄8in (1.5cm) in from top to bottom. Secure in the same way as you did in step 8.


10.  Now press the fabric to fix the ink and remove any creases, then turn your tube the right side facing out. Check it fits over the largest part of the frame, then remove again. Using your embroidery needle, thread long lengths of string through the top and bottom hems, gathering as you go.


11.  Place the fabric over the frame and pull the strings to gather around the top and the bottom edges of the frame, securing with a bow.


12.  Take your ribbon and tie it around the neck of the shade to pull the fabric into shape. Finally, readjust the string at each opening before knotting securely and trimming any excess length off.


As you may know H is a massive fan of printing and so this is such a great tutorial to try printing out on your kitchen table with simple materials.  You could also print tea towels or t-shirts in this simple way.  What would you print?

Thanks to Amy and Super + Super for the great tutorial, you can take a look on their website or facebook page for more and follow them on Instagram @supersuperhq.

And Thank you for reading all our Makers Month Posts, we have had great fun once again with our themed month of Maker joy.  We hope you enjoyed them too, which was your favourite?  Let us know in the comments below.

See you Friday!
H & Sammy

Bloglovin / Twitter / Facebook / Pinterest / Google+ / Instagram

Design your own Fabric with Zazzle

A few weeks ago the lovely people at Zazzle got in touch to tell us about their fabric printing service. Having recently said farewell to the fabric printing service from By Hand London, Sammy was so excited to have a try and see what Zazzle had to offer. They offered us a free sample of the fabric to have a play with so watch out for a tutorial coming on Friday using the fabric Sammy ordered. Sammy has bought t-shirts and merchandise from them in the past so she knew that their quality was great, but we were not sure how simple it would be to design our own fabric with Zazzle or how it would turn out.  

We both started by having some fun in Photoshop and created a .jpg file that we could upload to the site, this is Sammy's above.  H had fun with the background eraser tool on Photoshop so she could use one of the colours from Zazzle - more on that below.

Once on the Zazzle site it was then super easy to upload the image we had designed into their fabric creator.  H used one of the background colours on file, whilst Sammy's was all together on the .jpg file.

Then you get to play around with tiling the pattern, rotating your design and playing with the size of your print.  You can use the tiling options or not, so that's always good for choice.


We love that you can view your design in lots of different sizes, it loads the images with your design on really fast so it is easy to get a real idea of what your fabric will really look like with the handy thumbnails underneath the main picture.


There are seven different types of fabric to choose from, but don't get too excited, some of them are priced at over £60 per metre, which we feel is a little pricey, even for high quality custom printed fabric. The combed cotton is the cheapest option at £26.95 per metre, The pima cotton that H chose was £30.40 per metre and the cotton twill Sammy chose was £37.90 per metre. You can order by the fat quarter though which would keep the cost down for smaller projects. 

When our fabric arrived we were really happy with the quality of the fabric and the quality of the printing on H's fabric was beautiful as the colours were very true to her design. Sammy's fabric on the other hand was sadly not so perfect.

She was a little disappointed because the fabric looked like it had been double printed, it makes the design look a little blurred. She would have been more disappointed if we had paid the £37.90 that it would normally cost. 

When Sammy spoke to the team they said that they would absolutely replace the fabric, if we wanted, as it was gifted to us anyway, She decided that it would be fine for the project that she had planned. Good to know that if there was a problem as a paying customer that they would go the extra mile to sort it out. 

The Zazzle team said:
We have a 100% satisfaction policy at Zazzle, so if a product is unsatisfactory, and the customer provides a photo like you did here, they would be offered a replacement or refund. Customer can call our freephone number 0800-6-929953 10am-6pm Monday to Friday or email us here http://www.zazzle.co.uk/about/contactus.

So overall we would highly recommend Zazzle if you had a special project in mind that you need some bespoke fabric for. We would say that the price makes it a little risky if your not 100% sure you are going to use it for something really worthy of it. 

It was unfortunate that Sammy's fabric wasn't perfect, even big companies make mistakes sometimes but at least they offered to sort it out properly. Everything about the process was easy and fun. Sammy love's designing fabrics and she is looking forward to having a go again soon as she already have a few deisigns and projects in mind.

Have you tried the fabric service from Zazzle? Are you looking to get some fabric printed for a special project? Let us know in the comments below and don't forget to come back to see what Sammy has made with her fabric on Friday.

Sammy & H, xxx


Bloglovin / Twitter / Facebook / Pinterest / Google+ / Instagram


Review: Printing My Own Fabric with By Hand London

Last year we started stocking By Hand London patterns at Sew Crafty, I loved the unique styles they offered and the packaging is to die for (I am a sucker for good packaging).  A month or so later I supported their Kickstarter campaign to start a new branch of their business, bespoke digital fabric printing. A few weeks ago I got down to designing and printing some fabric for the first time.

I thought it would be a great idea to share my experience with you guys, *spoiler alert* I am a little bit addicted to designing my own fabric and have lots more designs planned!

You will need to start by creating a digital design, you can do this by scanning a drawing or creating digital artwork through Photoshop or other image software. I created this simple geometric design in Photoshop.

Once you have decided on your design you would upload it to the By Hand London website and start laying it out

You can choose different tiling options and enlarge or reduce your image to get the best look for your design. This view shows my design over a fat quarter with the smaller tiled option.

And below is the design at the biggest tiled option again over a fat quarter.

I found the website really simple to operate and easy to experiment with tiling and size options for my fabric. At the final stage you can choose the amount you want to buy and if you choose to, view your fabric over a metre area. 

Now some of you may think that £19 per metre is a lot of money for fabric, but if you think how much you pay for normal designer cotton prints for instance about £12-18 per metre? Getting your very own design digitally printed onto high quality cotton is a very good price.

I was so happy when my fabric arrived, I am totally in love with the print and the colours were just as I had imagined them to be, they are a very good match for the colours I chose on my computer screen. The quality of the fabric is just lovely and the printing is crisp and clean.

I said at the beginning that I was in love with designing fabric and I am totally in love, I am starting a sketch book just for fabric designs. I would absolutely recommend By Hand London for fabric printing in the UK. The process was fun and easy. The results are brilliant and the quality is beautiful. I can't wait to make my fabric into the skirt I have in mind for it, I will share when its ready.

I hope that has made you excited to have a go at designing your own fabric, Have you ever done anything like this? Are you waiting for your delivery? Let us know if you love By Hand London as much as we do!

Have a great weekend
Sammy xxx


Bloglovin / Twitter / Facebook / Pinterest / Google+ / Instagram

Summer fun - Week 2

Week 2 of the summer holidays is starting to get busy now at The Lightbox and one of this week's activities is fabric printing.

There are two sessions of this on one day for 4-8 year olds and then 8-16 year olds.  They made their own stamps, stencils and printing equipment and printed up their own tote bag.

This was my effort and I had fun especially using a rolling pin to make a repetitive wave pattern.  Something I have not tried before, but I definitely think I will again.

Have you made your own stamps?  What have you made?

Make it
H