Showing posts with label paper crafts. Show all posts

Make it: Paper Houses Advent Calendar

It is no secret that I love Christmas, everything about it, from the food to the shopping to the decorations. So today I am sharing with you the first Christmas 'make it' of the year - how I made our new Advent Calendar. I wanted to make one that I could fill up myself and that Steve and I could share, so a fun colourful house Christmas countdown seemed perfect.

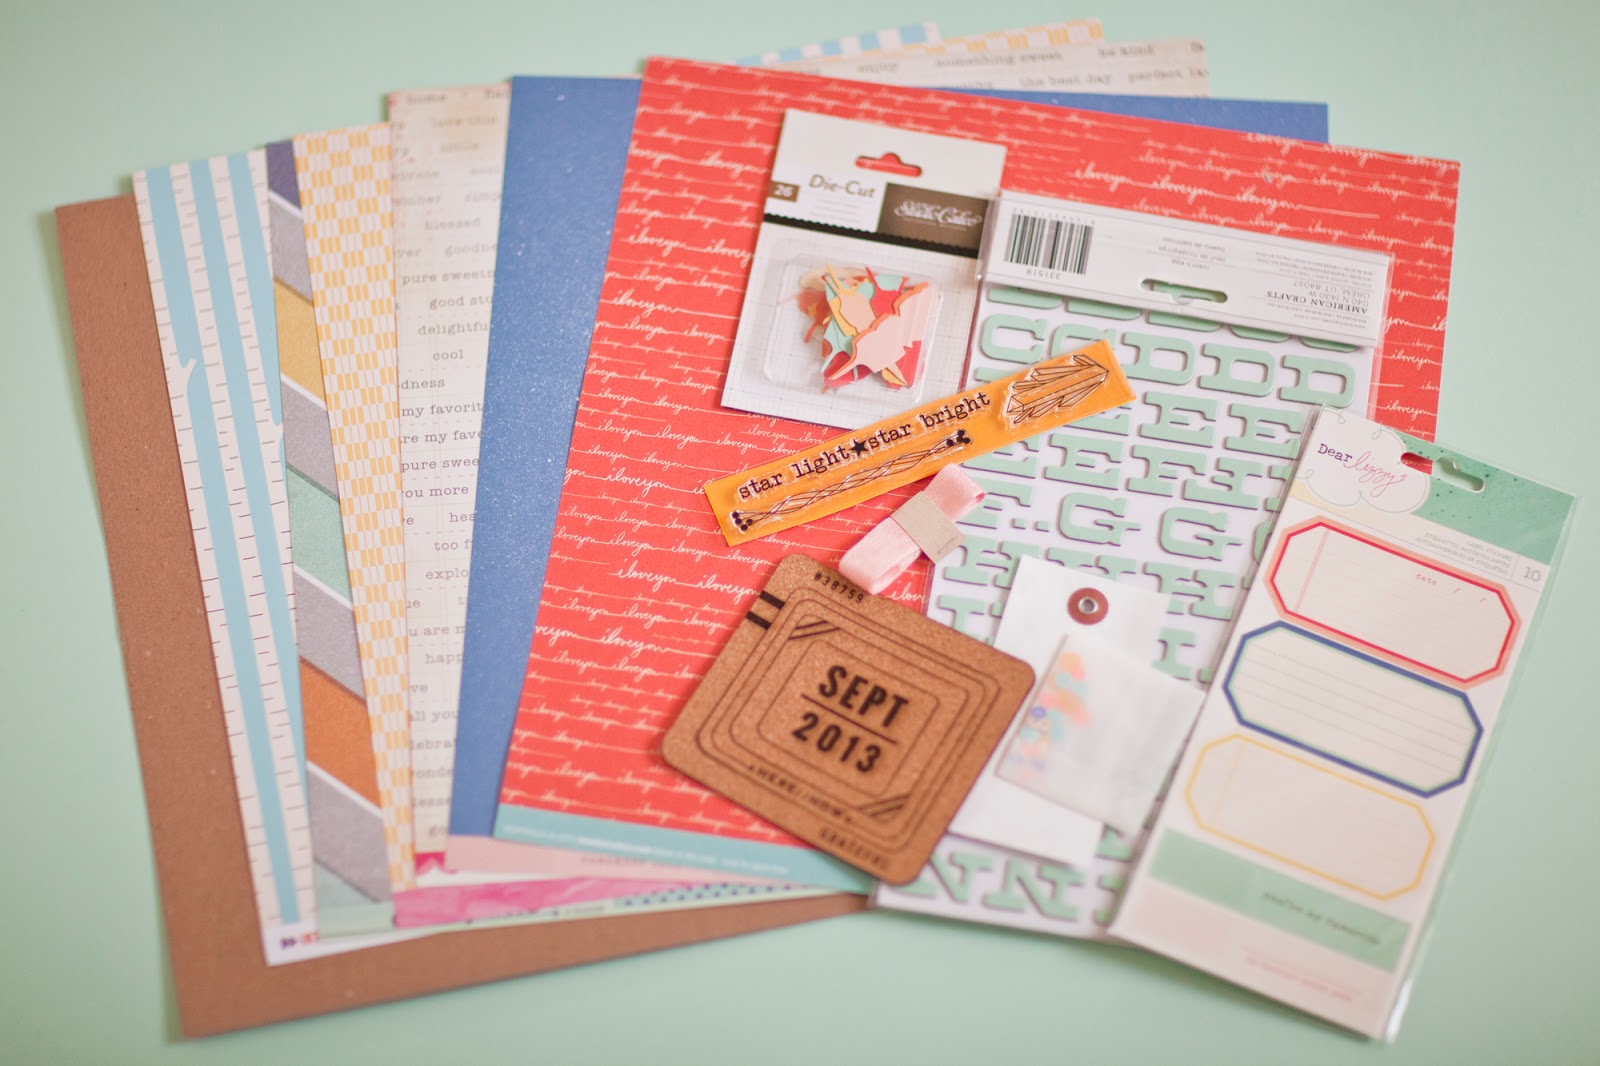
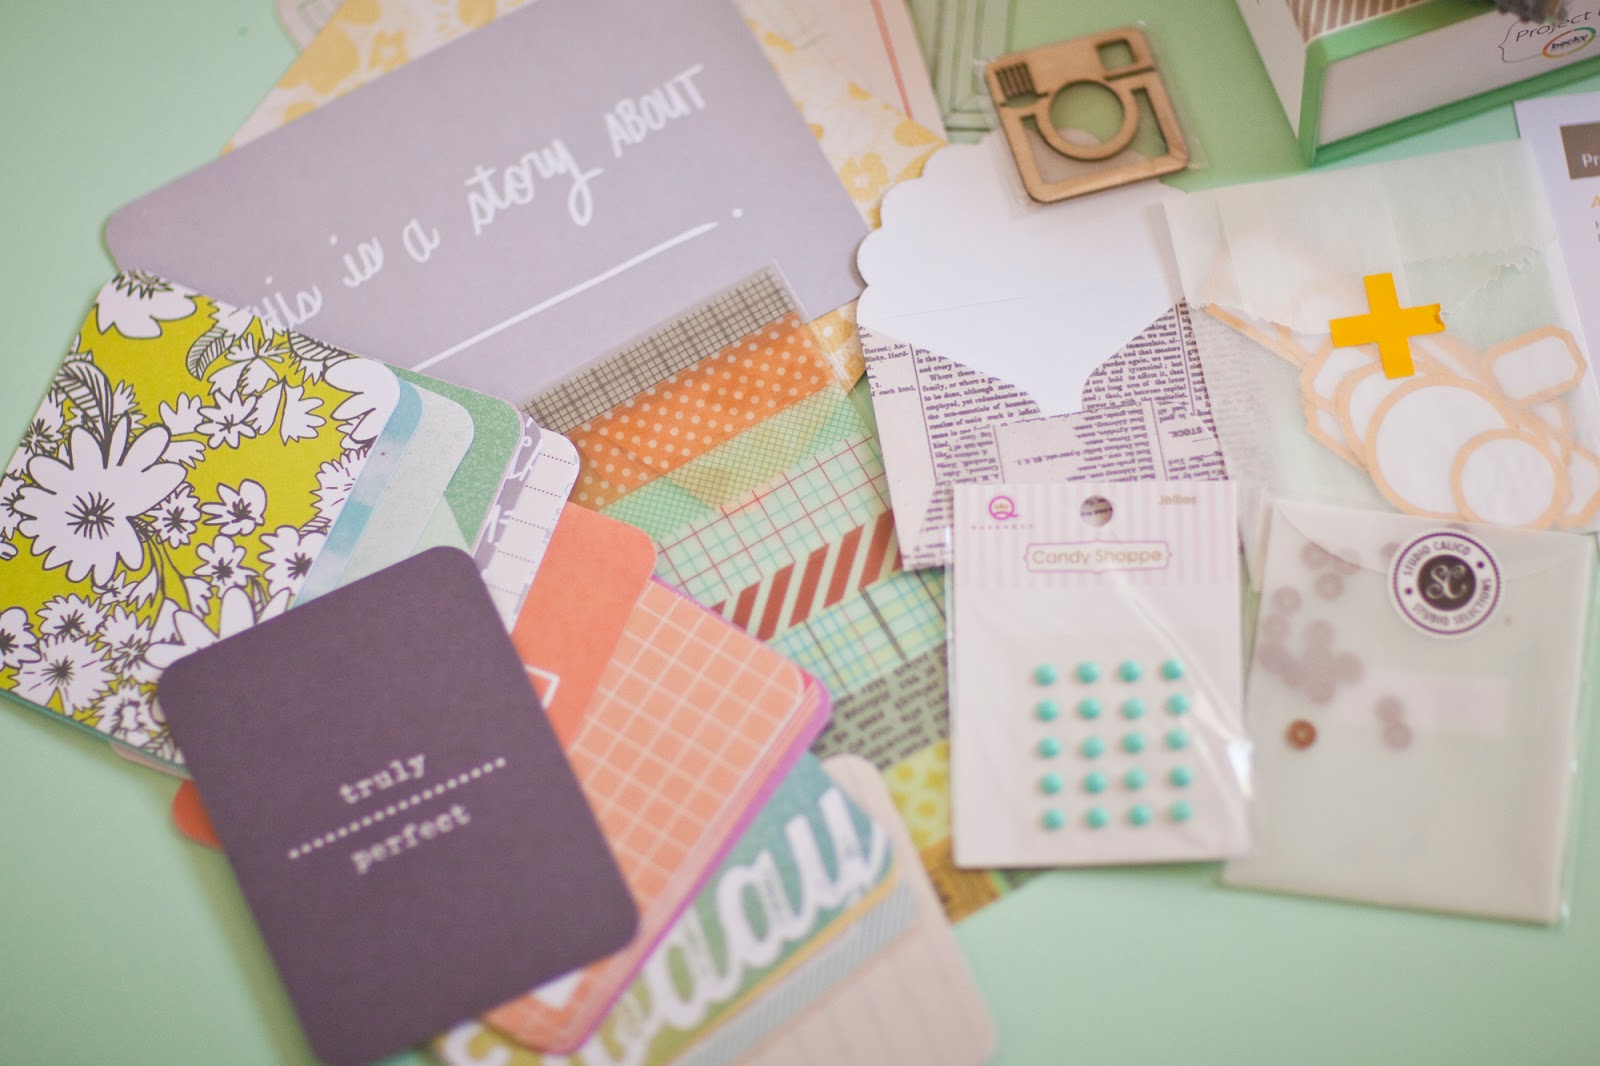
You will need: 24 sheets of A5 white paper, a small box or packet to use as a template, a selection of colourful card, double sided tape, some stickers and embellishments, number stickers from 1 -24, 48 paper clips, sticky-tape, scissors, bakers twine and your choice of filling.

Step 1. First to make the paper pouch which will hold your treats, start by taking your A5 paper and folding it over leaving a 1.5 cm strip at the bottom, then wrap it around the small box (I used the box from the paper-clips) fold over the end and seal it with sticky tape.

Step 2. Slide the box out of the paper pouch and seal the joins with some washi tape. Repeat for each of the 24 days.

Step 3. Then you can make the houses to stick to the front of the pouch. Cut out some squares and rectangles big enough to cover the biggest side of your paper pouch. Then cut some triangles to create rooves and stick them to the rectangles with double sided tape to create the base for your houses.

Step 4. Stick your houses onto the paper pouches. Repeat this for all 24 pouches.

Step 5. Next, grab a bunch of stickers and embellishments and add some doors, windows or chimneys to each house, I added these little owl stickers too, aren't they cute!

Step 6. Arrange your houses in an order that you like and add your numbers, I used a selection of thickers stickers and wood shapes from my stash, but you could just stencil or draw the numbers on each house.

Step 7 & 8. Add two paper clips to the back of each pouch and thread the houses onto a length of twine.

Then you are ready to hang them on a blank wall with command hooks or just washi tape if you prefer. Oh and don't forget to fill them up with goodies ready for December the 1st.


I just love how mine turned out, if you have children or youngsters in the family I reckon this would be an awesome project to get them involved with, they could each decorate some houses and help hang them in number order, or mix them up to make each day harder to find.


What would you put in your advent calendar? I love the idea of mixing it up with sweets, wintry activities and little treats like Lego figures and nail polishes etc. I can't wait to start opening ours!

Sammy xxx

Bloglovin / Twitter / Facebook / Pinterest / Google+ / Instagram

Make it: Holiday Scrapbook Tutorial

For every holiday I have been on for as long as I can remember I have made a scrapbook when I got home to keep all the little mementos I have picked up and of course house all of my favourite photos of the trip. Why I choose to scrapbook instead of just putting the photos in an album is that I like to record my memories and highlights along with my photos. Also I love using fun papers and embellishments to give a flavour of the place I have visited too.

Make it: Notepad Cover and Pen Keeper

If you have been coming here for a while you will know that H and I are both massive stationery geeks. Lately I have been trying to use up some of my notebooks and bits that I have collected over the years and ran in to an realisation, if its not pretty I don't use it. So to solve this problem I have been using my scrap-booking stash to pretty up my boring old note books by making covers for them.

To make a notebook cover and pen keeper you will need: an A5 notebook, two sheets of 12 x 12 card-stock, your sewing machine, some elastic and thread.

Step 1. Stitch your two sheets of card-stock together, I like to use a zigzag stitch, I use a jeans needle when sewing paper.
Step 2. Line up the spine of your notebook with the join in your papers and fold one side over the front cover of your note book.
Step 3. Fold the cover of your notebook closed.
Step 4. Hold the back cover in place, re-open the notebook and fold the back piece of card-stock over the back cover.

Step 5. Take your notebook out of the cover and head back to your sewing machine. Stitch down the folded over flaps. 
Step 6. Pop your notebook back in and mark a line 0.5cm below the bottom of where the notebook sits.
Step 7. Take your notebook back out and stitch along the line that you have marked. Trim off any excess. 
Step 8. Slide your notebook into your new cover.

It is that simple, but it makes a boring functional notebook into a pretty Instagram worthy piece of stationery joy! Now for the cherry on the top, a cute and functional pen keeper. 

Step 1. To make yourself a pen keeper you will need some elastic. 
Step 2. Wrap your elastic around your notebook and cut it to size.
Step 3. Stitch it into a loop. 

Step 4. Pull the elastic around your notebook and mark where your pen will go using your finger.
Step 5. Stitch across to make a loop for your pen.
Step 6. Put your new pen keeper around your new notebook.


I am going to be making lists of lists now I have this gorgeous set of matching stationery.  I have used scrapbook paper for mine but you could use fabric or old maps, even paper shopping bags. The same technique would work for any of those materials.

Are you a stationery addict like we are?  If you have a go at making your own do share it with us using the #livelovemake

H and I are heading out to the Knitting and Stitching show at Olympia today, what are you guys doing this weekend? What crafty fun will you be having?

Sammy xxx


Bloglovin / Twitter / Facebook / Pinterest / Google+ / Instagram

Love it: Cuttlebug Die Cutting Machine

At the beginning of January I made a sneaky purchase with some of my Christmas money and bought a Cricut Cuttlebug machine. I already have a Silhouette Cameo (which I use a-lot) and have had a Sizzex bigshot in the past but I donated it to H's work as I used to find it was a little cumbersome and therefore didn't really use it.  I love my Cameo but I wanted to do some work with foam and felt and due to the way that the silhouette cuts, you can't really use it well with felt.

I had heard great things about the Cuttlebug and loved the look of the compact design, what I also loved was that they brought out a limited edition one in stylish vintage green! It always helps to have pretty craft tools right.

I had some dies left over from when I had my Bigshot, I was a little annoyed to find that I needed to buy an extra 'C' plate in order to use them in the cuttle bug as it only comes with an 'A' and two 'B' plates. However some of my existing dies worked just fine and it came in the post super fast, then I was able to use all of them.

I had heard things about plates slipping and curving after time, but so far I haven't had any problems with either of those things.

If your not sure what the dickens I am talking about or what a die cutting machine does, it's basically a mangle with two rollers that uses metal dies to cut through paper, card, foam and fabrics.  You insert your material and a metal die in between the plates and the rollers push down with even pressure to cut and emboss the shape of your die in to the material.

As I said I particularly wanted to use it for cutting foam and felt, both of which it does beautifully. The only downside for me is that I am limited to the dies that I can buy ie. those that others design in fixed sizes. I think I have been spoilt with the freedom that comes with the Silhouette design studio software of being able to cut any design in any size. Having said that there are hundreds of dies out there and lots come with multiple size options.

The Kirsty Allsopp model does come with a few dies and an embossing plate but I did buy a few new dies as well of course, I think my favourite has to be this two part bow one from dimensions, this triple butterfly and the roll up rose.

As you can see I have been going a little crazy with the bow one!

This heart one will be really useful for Valentines and beyond and how beautiful are these feather ones. I bought my cuttlebug and all these dies from Crafts U Love which is one of my favourite places to buy craft supplies online.

All in all I would highly recommend this model if you are thinking of investing in a die-cutting system and can't commit to an electronic one. I love that you can use almost all of the other systems dies with it and for me the compact design means I am far more likely to keep it on hand and actually use it on a regular basis now. I am looking forward to trying out using it for some faux letterpress projects too as I have seen a few kits that you can use with these machines. Keep your eyes peeled for when I share my experiments.

I hope that helped if you are on the fence about getting one of these. Have you ever had a go with a die-cutting machine? Ever been fascinated to try one? Do you have one that's your favourite? Let me know your recommendations for places to buy dies from too please, I am a little addicted! I am looking for some good alphabet ones next.

Sammy xxx


Bloglovin / Twitter / Facebook / Pinterest / Google+ / Instagram

Makers Month: Choosing a Craft

Embroidery Hoops
We have been asked a few times recently and struggled to answer a question that I'm sure a few of you would also have difficulty answering ''what is your favourite craft?''

Over the past few years of co-running this blog, I have realised more and more that I find it so hard choose! how do I choose and I know Sammy feels the same.

String Art
I always default to saying that printing is my favourite craft, but I honestly don't have the space to set-up my printing stuff in my house-share, so I don't actually end up doing it as often as I would like - I do try to shoehorn printing in at work though!

For my job I spend a lot of time making up samples for the workshops we run and so I feel that I am constantly making, but most of the time I am not making things I like would like to be making for myself. They do, of course, turn out to be pretty cool, even if I do say so myself!

Some of my makes at The Lightbox
We are both bloggers who love crafts rather than designer/makers in the sense that we do not sell the things we make, I think I would find it hard to choose what to make and sell. I am interested to find out more from any of you who are designer/makers..

Did you get in to making as a hobby that grew in to a business? or did you choose something you want to make and then stick to it or did you change your focus after a while? or even, do you make other things in your spare time any-more or is it all about making stock now that you have a business?

Wrap Bracelet
I used to love Jewellery making and card making, but now don't do it quite so often, mainly gifts for friends.  I guess, for me, it comes down to having quite a creative job in the day, sometimes I just want to hang out with friends rather than make stuff for myself. I always wondered how Designer/makers cope with falling out of love with their craft? Does doing it as a business take the joy out of it for you?

Kindle Pouch
I have a pile of sewing ideas and projects to do and if it wasn't for the blog, I wouldn't get half of them done. Having the blog gives me the permission and drive to do something about all those ideas I have running around in my head, so I suppose it would be the same if I was making things to sell.

I'm just not sure I could commit to one style or genre of craft to make all the time to the exclusion of all the others that I like. I am sure that is why both Sammy and I love blogging and running the odd workshop because it lets us do all sorts of crafts and utilise all of our skills. It is also why we always find it hard to answer that question, What is your favourite craft?

Our new answer is 'all of them'

As always we would love to know what you think about this, Are you a designer/ maker? Do you have any answers for us? Let us know in the comments below or tweet us with #livelovemake

H

 Live, Love, Make, Like, Share, Follow, Tweet, Pin, Add, Enjoy. 

Bloglovin / Twitter / Facebook / Pinterest / Google+ 


Review: Studio Calico

As some of you may know I am a Studio Calico subscriber. Studio Calico is a U.S. paper-craft brand that sell their own brand products and the best of other U.S. brands in their online store but they also run a monthly subscription service. Unlike some other monthly 'box' services in which you get a mystery selection of goodies, with Studio Calico you get to see exactly what your getting before it arrives. If you are a subscriber you get a preview or a 'sneak peak' in the middle of the month of what you are going to received, and you get the option to purchase any of the top-up kits 24 hour before any non subscribers. The kits they put together are limited in number, so by subscribing you are guaranteed your kits every month.  You can still get some of the past kits in the store but if you don't subscribe you may miss out.  I am subscribed to the Scrapbook kit which is $29.50 (£18.50 approx) per month and the Card kit which is also $29.50 (£18.50 approx) per month. obviously Studio Calico are a U.S. based company so you may be wondering about shipping, I have never been charged for shipping because I often end up spending over the $79 minimum (ooppps!), but you can find out about shipping charges here.
I decided to share this month in particular because I ended up ordering all three base kits as well as a couple of the add-ons so I thought it would be a good time to do a comprehensive review for you all. 

Their kits are always themed and this months theme was 'Meet me at the ice cream shop' hence the collection name Double Scoop

This is the scrapbook kit, this month you get...four 12x12 sheets of card-stock, seven double sided printed 12x12 papers, a sheet of alphabet stickers/thickers, photo overlays, star stickers, embellishment stickers, two little tickets, a roll of alphabet washi tape, star sequins, a roller stamp and some gold doilies.

My favourite things in this kit is the triangle roller stamp and the little tickets.

This is the 'Waffle cone' add-on kit which was $29.99 (£18.80 ish) and in this kit you get... 6 double sided sheets of 12x12 pattern card stock, (the kraft sheet you can see at the back is just packaging, but I like to use them, bonus!) a pack of feather die cuts, a set of clear stamps, a length of pink ribbon, a pack of sequins, some label stickers, a handmade paper tag, a set of alphabet thinkers and a set of cork embellishments. 

I love the Star light star bright stamp with this set.

This is the Double Scoop main card kit, you get... three A4 sheets of plain yardstick, a pad of 18 single sided 6x6 sheets of card-stock (they are mini printed versions of the card-stock you get in the scrapbook kits) a length of ribbon, three flower cabochons, a set of clear stamps, droplet stickers, a set of gold rub-ons. 

My favourites from this kit has to be the Pebbles gold rub-ons.

This is the main Project life kit, subscription price is $19.99 (£12.50 approx) if you don't know too much about Project life, it is a style of 'easy' scrapbooking where you buy pocket pages and insert little cards to build up a page. I have tried it and I like it but it's not my favourite way to scrapbook.  I don't normally order this kit monthly, but I fell in love with this kit so I added it this month.  In this kit you get... five large PL cards, 23 small PL cards (some of which are double sided) a sheet of velum stickers, droplet stickers, a pack of sequins, some gold rimmed labels, a cute mini envelope, a instagram-esqu wooden embellishment and a Pebbles roller alphabet stamp. 

I am looking forward to using this kit, I probably won't use them as Project Life cards, but I will just add them to my layouts and mini books as embellishments. 

The main draw for this kit for me was this alphabet stamp, I have a pink handled one which you may have seen in my Top Ten Craft Tools post and I love it. So I was so excited to see one with a different typeface on, I can't wait to use this! 

Lastly I ordered the Bubblegum card kit add-on $28.25 (£17.75 ish) In this kit you get:  a pad of twelve 6x6 single sided card-stock, a set of clear stamps, some pearl stickers, a sheet of alphabet stickers, a roll of super wide washi tape, a length of ribbon, a length of floral cut out trimming and a tag. It also came in this cute little calico bag, so cute. 

I love the clear stamps in this kit!

The thing I love most about Studio Calico is the quality of the products, you get so many great branded ranges included in the kits. They choose from pieces from Dear Lizzy, Amy Tangerine, American crafts, Pebbles, Becky Higgins, Maggie Holmes, Glitz designs, My Minds Eye and so many more. The other thing I like about it is the community that comes along with it.  There are member galleries that you can look through for inspiration and forums for you to ask questions and meet like-minded papercrafters. 

I hope this was an interesting post if you are thinking about subscribing to Studio Calico or just if you like looking at pretty papercraft products.

Sammy xxx

(Disclaimer : This post is in no way sponsored, I spend my hard earned money on these subscriptions every month of my own choosing. I LOVE Studio Calico products and their service is brilliant. I just thought it would be interesting to show you what you actually get for your subscription)

Love it: My 30th Year Scrapbook

You may remember me talking about a scrapbook I was working on when I posted about Our Home earlier in the year.  I took an on-line Art Journalling course last year from the girls at A Beautiful Mess and this is what came out of it.  I thought I would share some more of the pages with you now that it's finished.

The idea of the journal was not only to document my 30th year but for me to try and be a little more relaxed about how I paper-craft. I am a perfectionist so I wanted to try and step out of my comfort zone and create something a little more free than my usual tidy style. I worked in 8x8 and made my own binder. 

I used the rings from an old folder and a cardboard box to create the album, then covered it in fabric. I spent the last year collecting magazine pages and scrapbook paper that I loved and used them to make the bases of my pages.

'Love is all you need' was the theme of my 30th year so this magazine page was a perfect opening title.

One of the first pages was a month by month list of all the amazing things I got up to. It runs from March (my Birthday month) to February this year, again decorated with magazine images that I liked embellished with glitter and chipboard.

Some of my favourite pages are the party pages, of course a few of my friends also turned 30 last year so the pages of photos that document their parties are some of the best memories of the year. With so many photos from those occasions I used Picasa to create collages and printed them out on our home printer. I like the page from my 30th party because I got to use the name tags I made for our drinking straws to document who came.

This colourful page brings back all the memories of the night and how much fun it was putting the buffet table together.

This is the Our Home page I shared in April, it was so fun running around the house, documenting my favourite spots.

I added a few little wooden embellishments to the opposite page with some journalling 'Hands build and house, heart build a home'

Another thing I wanted to document was all the fab TV and Movies we saw, I picked out some busy magazine pages and added two project life cards with two lists, one for each page.

Here is another one of those Party pages, This was Kelly's Barbie Party.   This one was special because I got to help with a lot of the decorating for the party, which was so much fun. I was really happy when I found the perfect scrapbook paper for the opposite page too.

This page was dedicated to our girls summer holiday in Spain. I wanted to include as many photos as possible so I put the journalling on a half page in-between the double page spread. Then embellished some tags and stickers over the collages.


Another page, another party, Verity's Gatsby garden party! It was such a hot day but we had a ball. I was on official photographer duty as well as getting to enjoy the party so I had a hard time choosing which photos made the cut, but there seemed to be such an obvious colour connection with this set that worked so well.

Some of the final pages documented some special feelings I had about my friends. This one is dedicated to Helen and Verity. We had a photo together at our friend Claire's wedding in November which worked so well because I wanted to document how proud I was of these two girls. Verity ran the London Marathon for the second time, we went up to London to see her cross the finish line, She is such an inspiration. And my friend Helen lost her Mum to breast cancer last May, She is so strong and brave.  Steve and I have the honour of being her wedding photographers next year, it's going to be such a magical day. 

I hope you enjoyed that little peek into some of the pages from my 30th year album. It was so much fun to create and really helped me to remember what an awesome year I had. Trying a different style was fun too. I will definitely be making more of these albums, I am thinking of making a 'friends and family' album next, with a page dedicated to each person who is special in my life. 

I hope this may encourage you to have a go at printing out and documenting some more of your photos.
Sammy xxx

H and I are away on holiday at the moment, we will read and reply to all of you comments when we get back <3