

Last week we were very upset as we had to cancel our Craft Club at Norden farm, because not enough people were booked on, this made us very sad as we were, as always, really looking forward to it.
The idea was to take the myth away from zips by making a zipped make-up bag. We had had so many requests for this kind of class it was a shame that not enough people wanted to come along this time.
Never the less we are going to take you through how to make one today with a little tutorial, This technique can be used to make a zipped pouch of any size, great for pencil cases, kindle cases, purses or clutch bags.


You will need...
A sewing machine and a zip foot
Scissors
Pins
Two pieces of main fabric (ours were 11'' x7'')
two pieces of fabric for your lining
Zip (ours was 10'')
Thread to match your main fabric

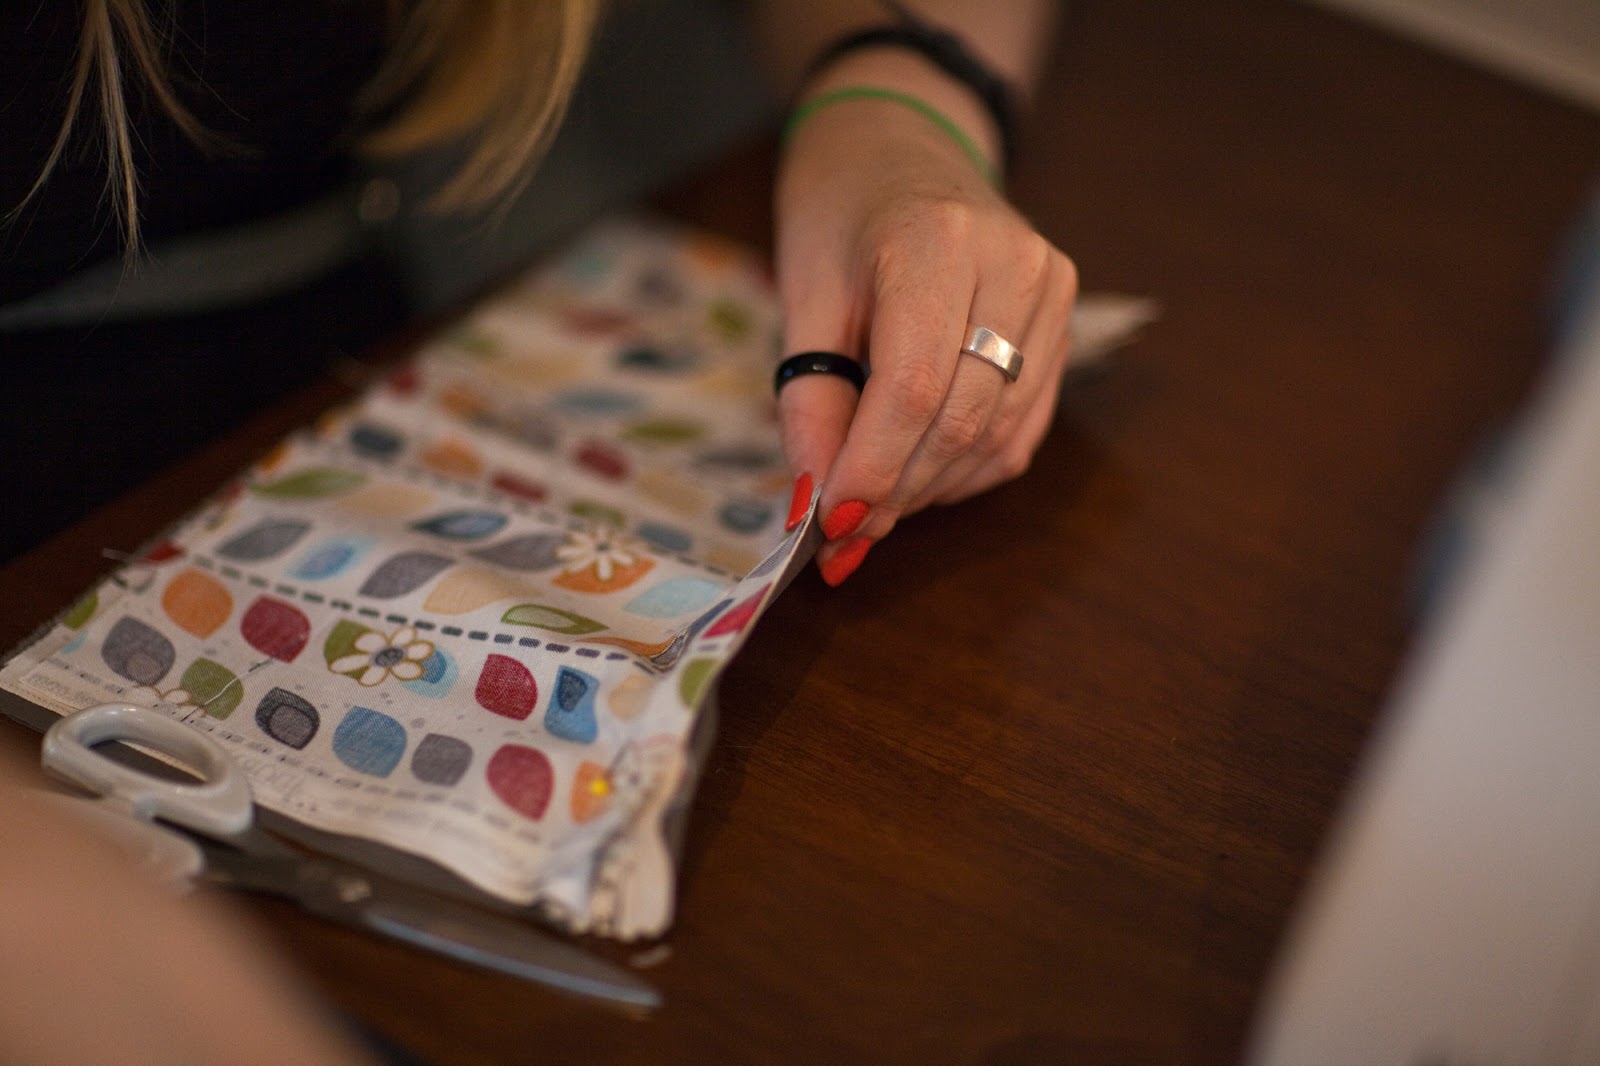
Start by taking one piece of your main fabric and placing the zip face down along the top edge.

Then take one piece of your lining fabric and place it down over the top.
Pin all the layers together.


Take your pinned fabric to your machine and swap your presser foot over for your zip foot, then stitch the three layers together.

Once stitched fold the main fabric and the lining back revealing the un-sewn side of the zip.
Take the second piece of your main fabric and place it face down again placing the top edge to the edge of the zip.

Do the same with the lining, again pin them in place and stitch.

Once you have stitched both your main pieces and your lining pieces in place, open out your fabric so that you have your lining at the bottom and the zip running down the centre.

Take your almost bag back to your machine and run a line of stitching down each side of the zip.
(You can skip this step, but it means that your zip might get stuck in the lining when your using it)

Once you have stitched both sides down it should look like this.
Next you need to open the zip, leaving it done up about 2 inches.
Once you have done that open out the lining and main fabric and pin them together right side to right side.

Pin all they way around. Try and fold the zip to the main fabric side.
then you are going to stitch all the way around the edges of your bag. leaving a 3-4 inch gap at the bottom of the lining.


Once you have stitched all the way around leaving your gap, trim off all the excess seams. you want to leave about 1/2'' seam allowance.


Now its time to turn your bag through, start at the gap and turn it all the way through, then push the lining inside the main fabric.

Use a blunt object like a knitting needle to push the corners out, It should look like this.

Pull the lining back out a little and hand stitch up the gap you have left in the lining.
you can then just push the lining back in and leave it at that if you are making a flat bag, but we are going for a bag that has some depth.


Turn your bag inside out and pinch across the corner, checking that the seams match on the corners and pop a pin in.

Take it to your machine and run a line of stitching just above where you have pinned.

Repeat on the other corner. It should look like this.


Then you can turn your new make-up bag right side out and admire your work.
 There you have it, a cute little bag to use for yourself or give as a gift with some of your friends favourite travel sized beauty products tucked inside.
What kind of bag would you make with
this technique? If you added a layer of wadding of used a quilted fabric it could make a new case for your ipad maybe?
H and Sammy xxx