Gift Wrapped 3 ways

One of my very favourite things about buying gifts, especially at this time of year is getting to wrap them up. I love paper-crafts and for me wrapping presents is just an extension of my favourite hobby. You may remember last year we even held a gift wrapping workshop! Getting to play with embellishments and glitter is just the best part of the gift buying process for me. It can make even the most mundane gift voucher that little bit more exciting to open. 

Most of my family have asked either for money or vouchers this year so for a bit of fun I have taken some kraft gift boxes and decorated them up to put their vouchers and money in, to make them a little more exciting than just a card. I got a little carried away and whilst I was at it I thought I would make some extras to share with you all.  I went with three themes to help inspire you to have a go at some different wrapping ideas this Christmas. 

All That Glitters
Use mini Christmas decorations to embellish, I also love wooden decals often sold for card making and sequins sprinkled like glitter. Copper and rose gold make a luxury statement, I used copper flakes on double sided tape and copper tape. Use even the smallest scraps of expensive gift wrap to make tags or add strips to basic papers to give a splash of glitz. 


Merry and Bright
Why not make your gifts stand out from the crowd by using a neon theme. By using simple tools like paper punches, fine liner pens and washi tape you can create simple but stunning wrapping that will have your family and friends reaching for the sunglasses. Hand write little phrases onto scraps of card or stickers to create funky gift tags. These star ones were 'sale' price tags from Ryman.

Trendy Traditional
A classic colour combination with a twist, red and white paired with aqua blue freshens up the traditional colour pallet. Use playful motifs like reindeer, penguins and gingerbread men to add a touch cuteness for kiddos or adults. Doilies look lovely as a classic pairing with good old bakers twine. Use fun fabrics to wrap gifts, it doubles as part of the gift if you are giving them to a crafty friend.

Do you like wrapping gifts or are you a last minute bung it in a bag kind of person? I have a last minute stash of tissue paper and gift bags at the ready just in case too! Which theme do you like the best? Which wrapping idea's will you be using this year?

Sammy xxx

This post is not sponsored.
Supplies from Hobbycraft, Marks and Spencer, Card Department, Sew Crafty, Amazon, Papercutz, Sainsbury's, Studio Calico, Ryman, Paperchase and Fox and Star.


Bloglovin / Twitter / Facebook / Pinterest / Google+ / Instagram

Advent Calendar day!!!

Hello and welcome to December, wow this year is going quick!  The Beginning of December marks when Christmas really starts for me - you will know by now of course that Sammy's starts much earlier.  Although with making presents, I do think about that side earlier, but anything else waits for the 1st December at least.   I have been known to be shopping on Christmas Eve.

So with that, I think the only thing to do today is talk Advent Calendars!  I do love the different ones you can get now every year and as I now know that Dairy is no good for me, I feel it justifies looking at lots of other ones - basically it just means I have the excuse to go for something bigger and better!   I have tried to go for ones that you can find in the shops as today is the day and no one wants to wait for delivery.

So first up is the Dashwood Studios Advent Calendar.  This is so beautiful and Sammy has done a great Tutorial for it over on the Sew Crafty website - did we mention you can now shop online???!! ha, ha.  So there is no excuses for not getting one made - even though you might not get it done today given that this is the 1st December, I still think its worth making.

Next up is the Lego Star Wars Calendar which is just ace - you can get loads of different versions of Advent calendar but some are sold out.  I managed to find this one on Argos but they are popular and so be quick.

Another option for the beauty lover is the Ciate Mini Mani Manor Advent Calendar, which means they get so many nail colour options for the party season, amazing!

and lastly, but by no means least, I have added another cute fill your own advent calendar.  Pick up this M&S Cracker Advent Calendar and you can fill it with whatever treats you like, from a bit of chocolate to small gifts, anything you like.

Which one would you choose??? I love the idea of reusing every year and having items rather than chocolate.  I used to work at a company where a lady would make an advent calendar each year with treats in it and then each of the staff members had a day and so everyone got a gift! So sweet.

H

Bloglovin / Twitter / Facebook / Pinterest / Google+ / Instagram

November Monthly Favourites

I can't believe that it is almost December! This year has just flown by, the last month in particular don't you think? Although it has gone by really fast I do seem to have a ton of favourites to talk about.

At the beginning of the month H and I took a trip to a place we had been dying to visit for the longest time, Sketch. This London restaurant is special, weird and kooky in may ways. We ate in the Gallery restaurant, which is a mesh of several artists and designers collaborative process. Everything from the servers uniforms to the plates and menus have been designed to create a very unique dining experience. I'm sure this place is not for everyone, but we just loved it there. If you are looking to try something a little out of the ordinary I would totally recommend it. We are heading back for afternoon tea very soon.

I am a tea and hot chocolate lover but I also love to mix it up. One of my favourite alternatives is Peanut Hottie, it is like drinking liquid peanut butter! Yummy! And if you like Reeses Peanut butter cups try mixing this with hot chocolate for a special treat in a mug.
My new squirrel pen is just soooo cute, she sits on my desk in pride of place. A purchase from Paperchase on our recent visit, more of a novelty, but actually is really nice to write with too.
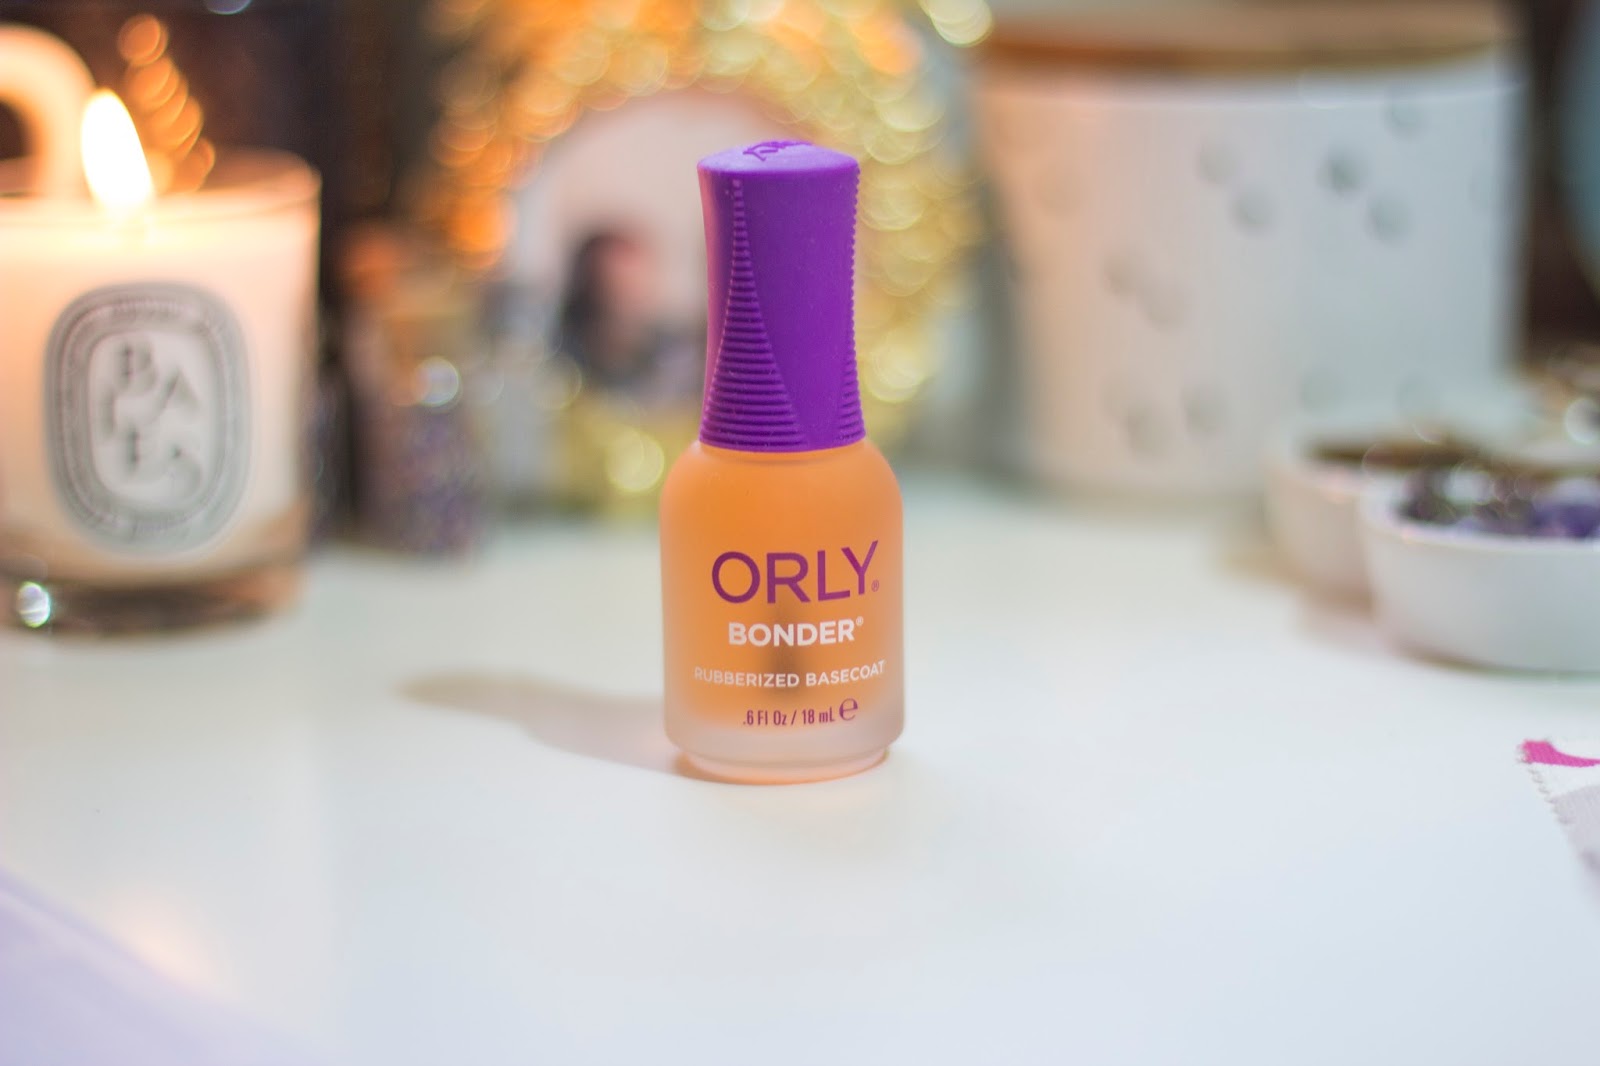
Orly bonder rubberised base coat is something I have been trying to get my hands on for a while, I couldn’t find it anywhere near me so I resorted to ordering it online. I wish I hadn’t waited so long. For me with my thin flaky nails, chipped nail polish was just standard.  However since using this even my chippiest of nail vanishes have stayed put. Game changer!

I love scented candles but I can really only burn them in my room where the cats don’t go. Our Bailey is fascinated and has burnt his whiskers and almost his tail on a few occasions, it is just not worth the risk of burning them all over the house as I would like too. We have LED candles for ‘effect’ in the lounge and things but you don’t get the fragrance. Recently I have been loving Glade air and fabric freshener spray and when I saw they had Christmas scents I just had to try. My fave is the Cosy Apple and Cinnamon, so now we can have the look and scent of candles without the risk.
We took our annual trip to Renegade craft fair in London last weekend and as you will have seen if you follow me on Instagram, we did some serious shopping. Some of my fave items (there are so many) was this cute little unicorn necklace from Eclectic Eccentricity and this Seasons eating calendar from Dear Colleen. The Unicorn is obvious but this calendar is awesome in lots of ways. It has been illustrated with gorgeous doodles of fruit and veg, each month has a recipe and when you have finished using the calendar part you can cut it away and use it as a shopping list for the following month’s recipe, Genius!

So December in 2 days, are you ready for Christmas yet? I am putting up my tree today, But I still have a bit of shopping to do, are you all done yet? Let us know in the comments who you have left to buy for, or what your favourites have been this month. 

Sammy xxx


Bloglovin / Twitter / Facebook / Pinterest / Google+ / Instagram

Live it: Paperchase SS15 Event

H and I have worshipped at the doors of Paperchase Tottenham Court Road for more than 15 years. Four floors of stationary, pens, paper and gifts who would not want to be a paper chaser? You can imagine our delight when an invite hit our inbox to head over to TCR and view their Spring/Summer 2015 line and have some Christmas crafting fun, we literally squealed.

Last Tuesday evening we made our way up to the crafting area at the top of the store and were met by the PR and some of the design team. after a welcome drink we headed over to have fun with glitter with the lovely Martine Arty. They have a bunch of workshops going on in the lead up to Christmas at the flagship store, head over to the #imadethis page on their website for more details.

We got to make Christmas decorations, basically we got to play with amazing paper, glue and glitter for an hour, it was awesome! 


Then they let us loose on the new collections. The lovely Puja took us around and talked us through some of the pieces. We are so excited to get our hands on some of these goodies. We don't want to spoil the surprise as we will be doing a post all about the collections when they are released so we have just given you a little teaser below...

Cockatoo tankard and it takes two to Mango! Yes!

A trip to the store would not be complete without a little shopping spree, so we headed down to check out the Christmas goodies and picked up more than a few supplies to keep us going until the next time we come and visit.

We would just like to say a massive THANK YOU to the guys at Paperchase for having us along, and for the awesome goodie bag!

Are you a Paperchase fan? What is your favourite piece of paperchasery? Or piece of stationary that you last bought?

Let us know, as usual in the comments below or on twitter @livelovemake

H and Sammy xxx


Bloglovin / Twitter / Facebook / Pinterest / Google+ / Instagram

Make it: Teenage Mutant Ninja Turtle Baubles

It's Make it time again over here and this time it's a fun simple activity that the whole family could do to decorate the Christmas Tree, cos we all know it's nearly that time - if you haven't already put it up!

I saw these first over on Pinterest and just couldn't not make them, as they are just so cute.  I mean who doesn't want Teenage Mutant Ninja Turtle baubles for their tree????

You will need:  Scissors, Ribbon (Blue, Purple, Orange and Red), double sided tape, self adhesive googly eyes and Green Baubles of course!

First, you will need to cut your 4 ribbons to the length that will go around your baubles, with a little overlap.  Then attach double sided tape to one side.

Wrap the ribbon around roughly the middle of the bauble and stick in place.

Next, get your adhesive eyes and stick onto the ribbon.

It really is that simple, repeat the steps for all four of your Turtles and you have your set.

Now, if you can't remember your turtles, I will help you out.  Raphael is Red, Donatello is Purple, Leonardo is Blue and Michelangelo is Orange!  Which one is your favourite???

These would make a great gift for the Turtle fan in your life and with the new film out at the moment, all my childhood memories are flooding back!  Gotta love the 80's!

H


Bloglovin / Twitter / Facebook / Pinterest / Google+ / Instagram

Make it: Super Easy Quilt

If you want to impress someone this year with a super easy, yet really impressive, gift this year make them a quilt blanket. Everyone loves snuggling up under a cosy blanket, they make great gifts and you can make them really personal by picking fabrics that you know the recipient will just love. I have to be honest, I am not the worlds greatest quilter, I think it stems from not wanting to cut up beautiful fabrics into little pieces just to sew them back together again. However this easy quilt requires very little cutting and you still get that lovely cosy blanket at the end of it.

I chose once again to use my some of my current favourite fabrics from Dashwood Studio to create this 'quilt' These are from the Retro Orchid collection.

You will need: 6 x 30cm strips of your choice of cotton fabrics (at least 110cm) wide, 150cm x 100cm of fleece fabric, Fabric Scissors, thread and your Sewing Machine.

Start by pinning and then sewing together two of your cotton strips. Pin them right sides together making sure you are sewing a nice and straight seam. You can use your machine foot to help guide your stitching. Then un-fold and pin and sew your next strip in place.

Continue until you have sewn all your strips together. Fold your quilt front in half length ways and mark the centre line with a row of pins. Then be brave and cut up the middle line you have marked, removing the pins as you go. You then want to take your two halves and flip one so it is facing the opposite way around. Line the two pieces up and sew them back together to create the chequered front piece.

If you have been neat, all your squares should line up nicely, if not don't worry too much, mine didn't, I think it adds a bit of quirkiness to the finished piece. It made it look more handmade! So next, is to add the fleece backing, I have not added any wadding to mine as I like my blankets to be a little more floppy and snuggly. Stitch all the way around the edge of your cotton and fleece. Make sure you leave a gap around 15-20 cm open at the end. Use this opening to pull the whole of your quilt right side out.

Folding in the raw edges, start at the opening and sew a line of top stitching all the way around the edge of your quilt about 1-1.5 cm in from the edge. And  you are all done, see I promised it would be easy!

If you can bear to part with your new cosy blanket it would make a great gift for anyone this Christmas, It would be so cute for a new arrival in baby colours and equally in fun boy fabrics for any Kiddos you need gifts for, a great alternative to more plastic toys. I am gifting mine to my Mother-in-Law who loves handmade presents and always admires the quilts in our home.

Who would you make one for this year?

Sammy xxx


Bloglovin / Twitter / Facebook / Pinterest / Google+ / Instagram